 Cassandra.org
Deck Dining Table
Porch Furniture
Deck Work Table
Story
While designing and planning the New
Decks for our house, I decided to make custom deck furniture. This
was an ambitious plan as I enumerated all the pieces I wanted. To make
it more manageable, I limited the first set of furniture I built, which
you can read about on the Phase I
Deck Furniture Project Page. After the basic benches and tables in
the first phase were completed a number of other pieces I built in
sequence. I've grouped all these subsequent pieces into this one
project page, and labeled it as "Phase II" of the overall deck
furniture plan.

Phase II Lumber
This Phase II work consisted of the following:
- dining table;
- chairs and side table for covered porch;
- work bench and cabinet; and
- clothes/towel rack.
For both the Deck Screen and Phase I Deck Furniture, I had
ordered a large amount of lumber, but this was not enough to cover all
the Phase II furniture needs. There was enough left-over lumber to
start, but I needed a second order so I had to plan out all the
upcoming projects so I would only need to pay for a single delivery
charge. The order consisted of pressure treated lumber for the
underlying (non-visible) frames, Ipe wood (same as deck) for the
wearable surfaces and cedar for the "skirting" that hides the
frames. This lumber also included boards for the a planned project
of adding some stairs around the pool. Planning this was very tricky
since I had just a rudimentary idea of what I wanted here, and in fact
I wound up changing my mind about using the wood for that. Instead,
that area became the Deck Perimeter Project and
this would would eventually be used for the Outdoor Planters Project.
Dining Table
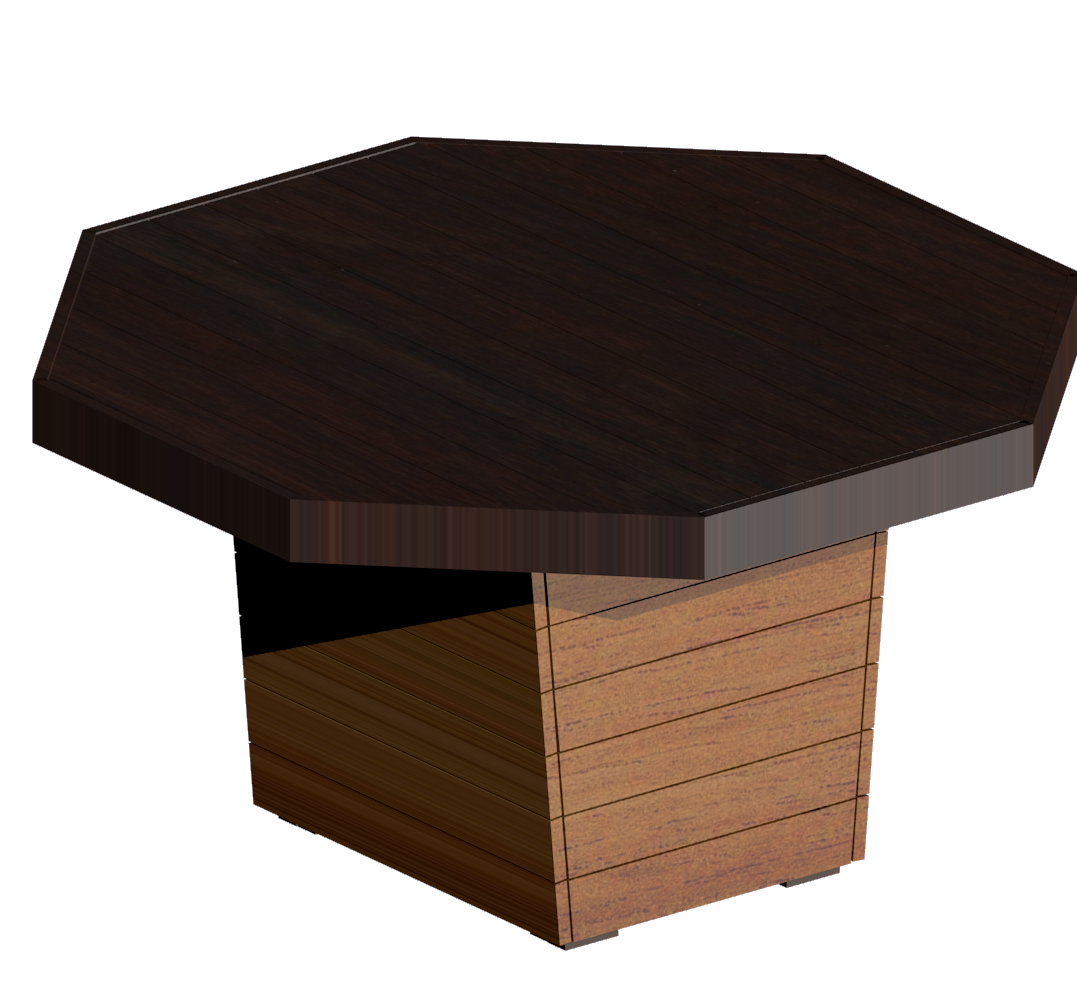
Octogon dining table model

Original bar height table design
My original plans called for bar-height tables. This was not going
over so well with the other half, and I eventually began to doubt this
being a good option. BY the time I had completed the Phase I Furniture, I had changed
the plan to have a traditional height dining surface. With the ease of
cutting angles that my new-ish miter saw gave me, and wanting to break
out of the square table mode a bit, I decided to design an octogonal
table.
I did some initial sketches on paper while on vacation and then moved
onto making a 3-D model to better work out the geometry and get more
precise about the dimensions for everything.
In terms of chairs for this table, I decided to purchase chairs as a
short-term plan, since I did not want the queue of projects to grow and
I did not have good ideas for making chairs any better than what I
might find I could buy.
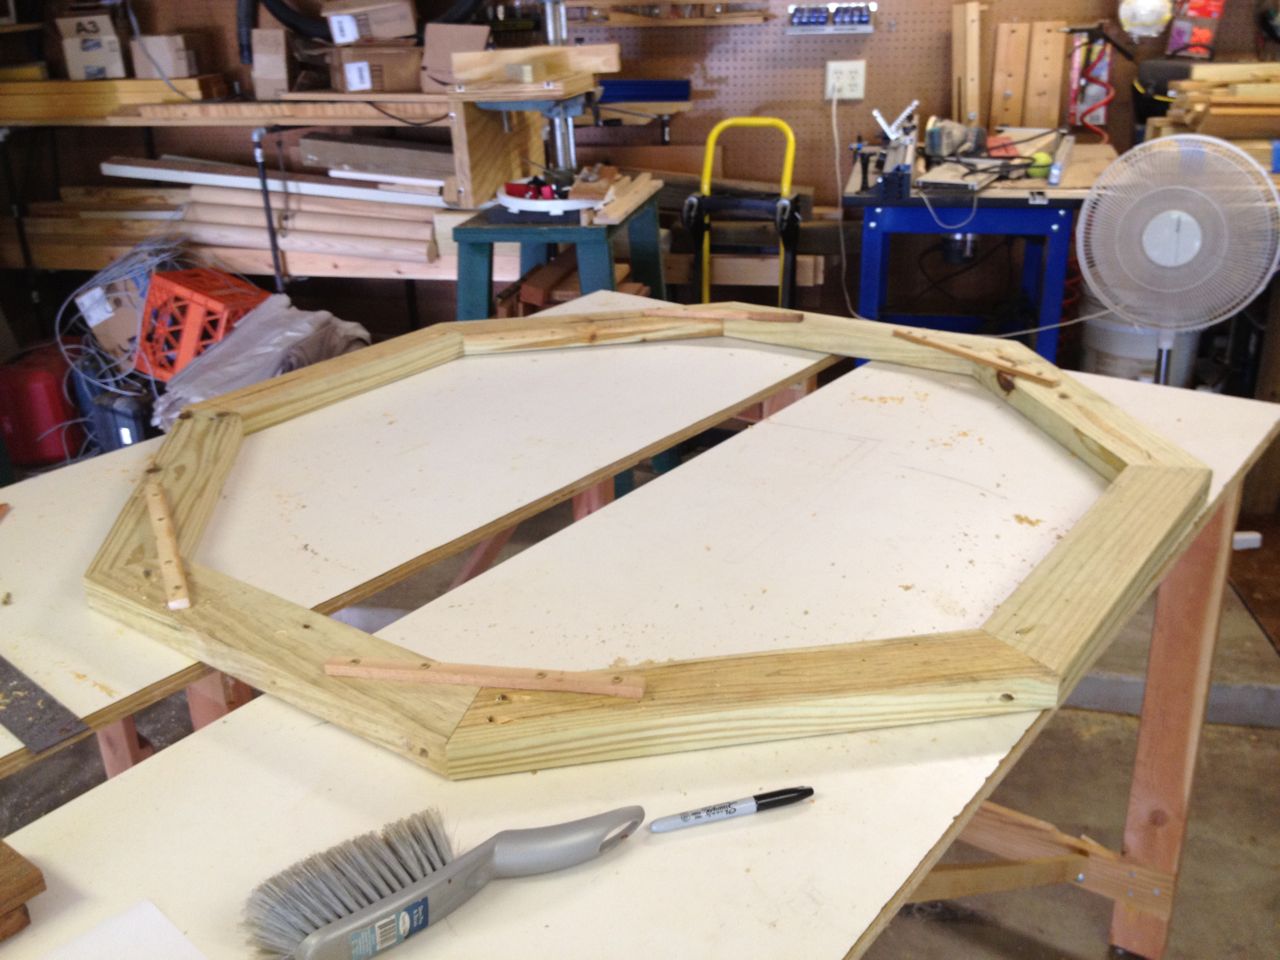
Octogon-support frame
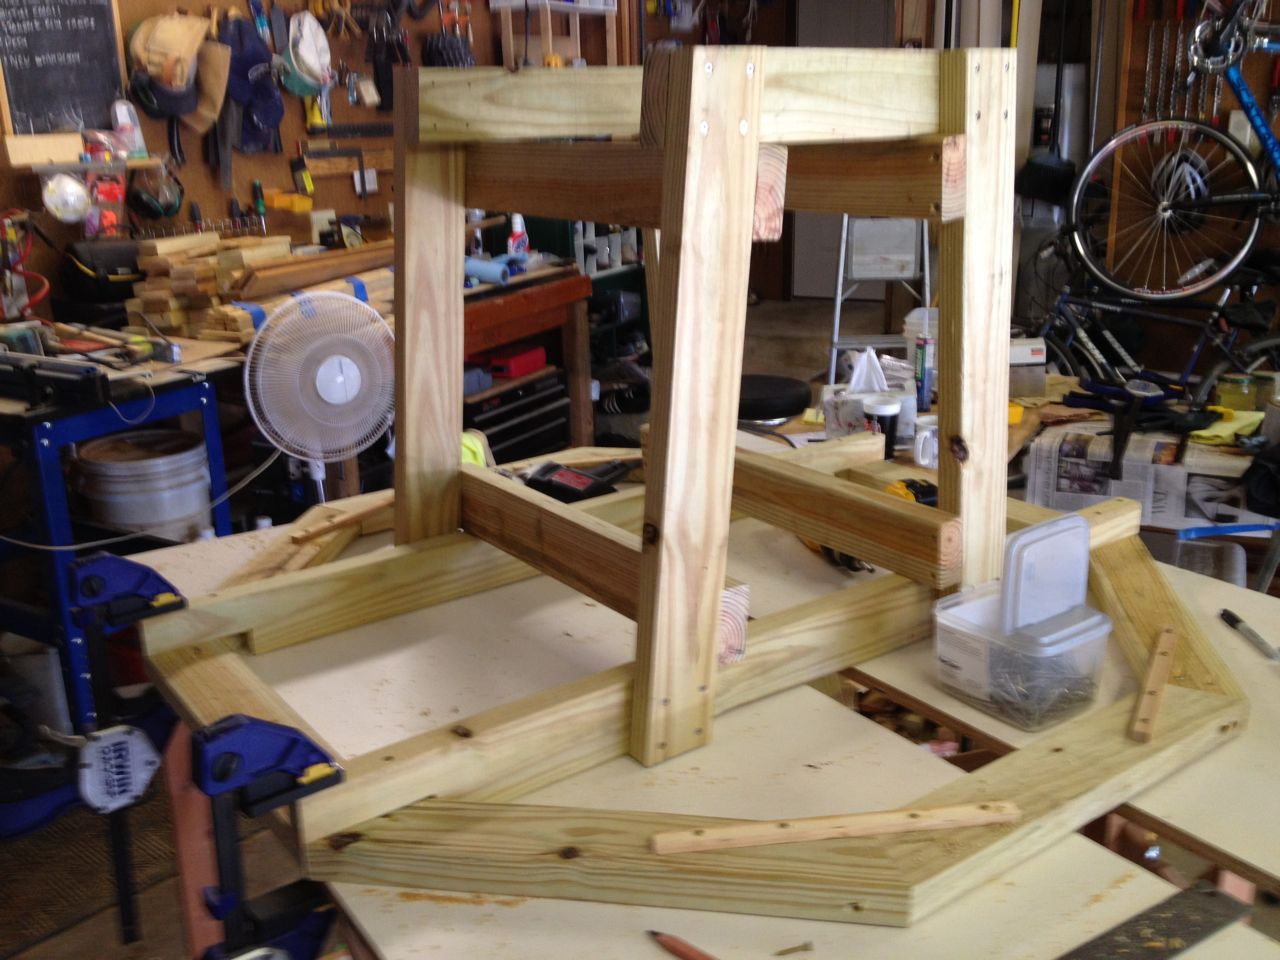
Base and top frame assembly
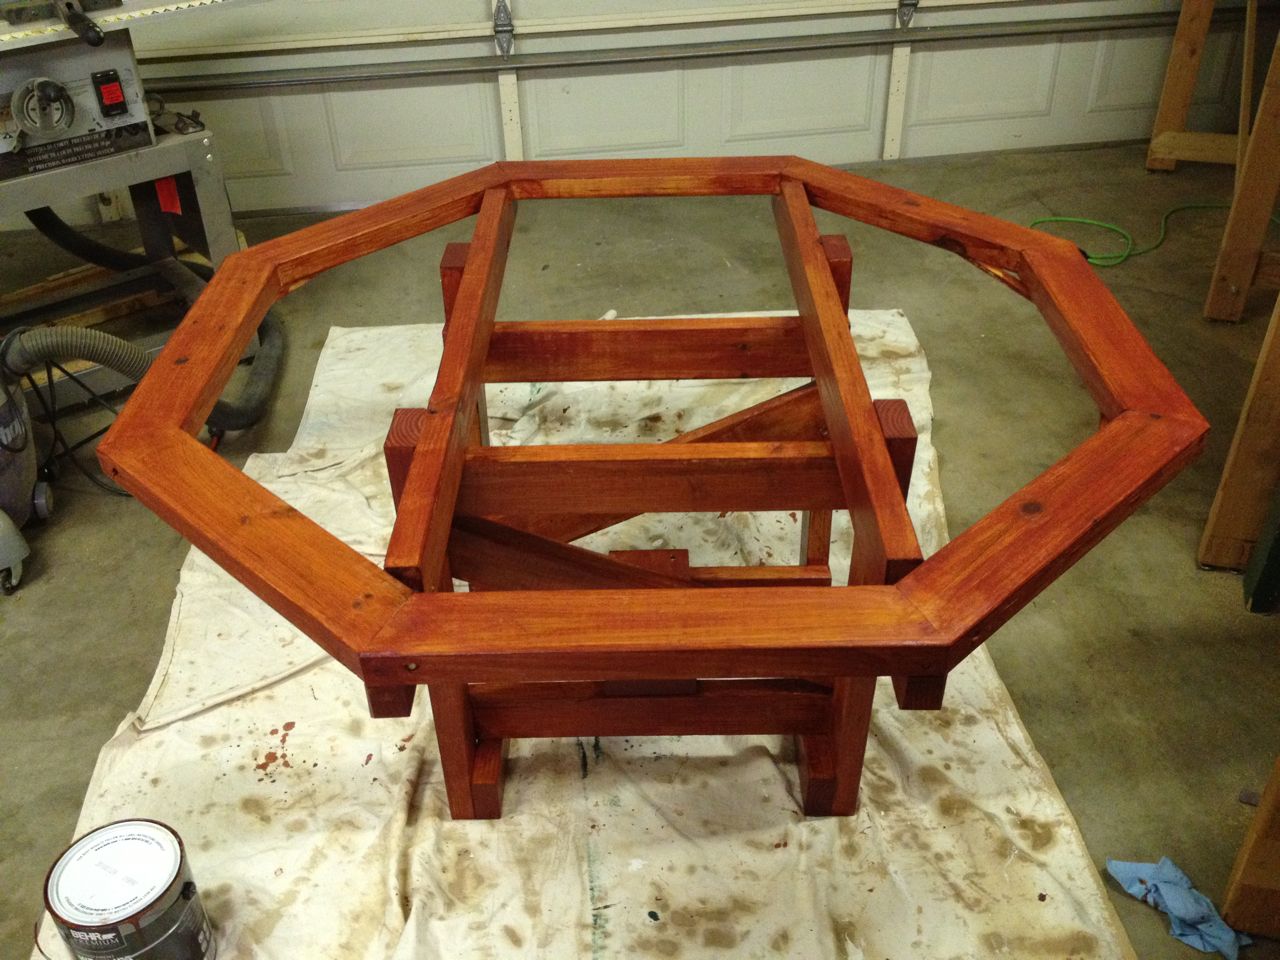
Frame completed and stained

Assembling cedar "skirting"
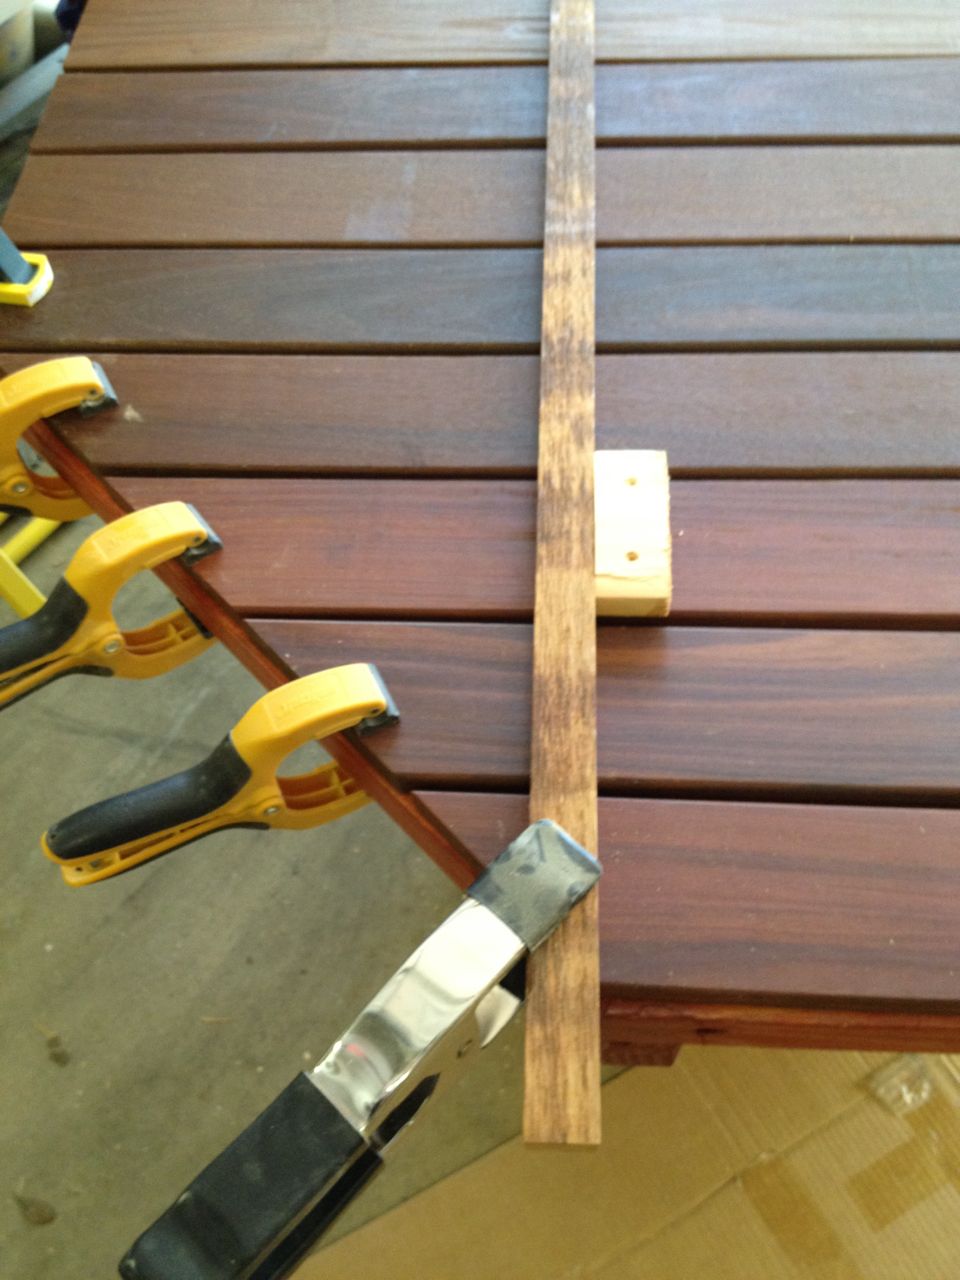
Aligning holes for Ipe surface
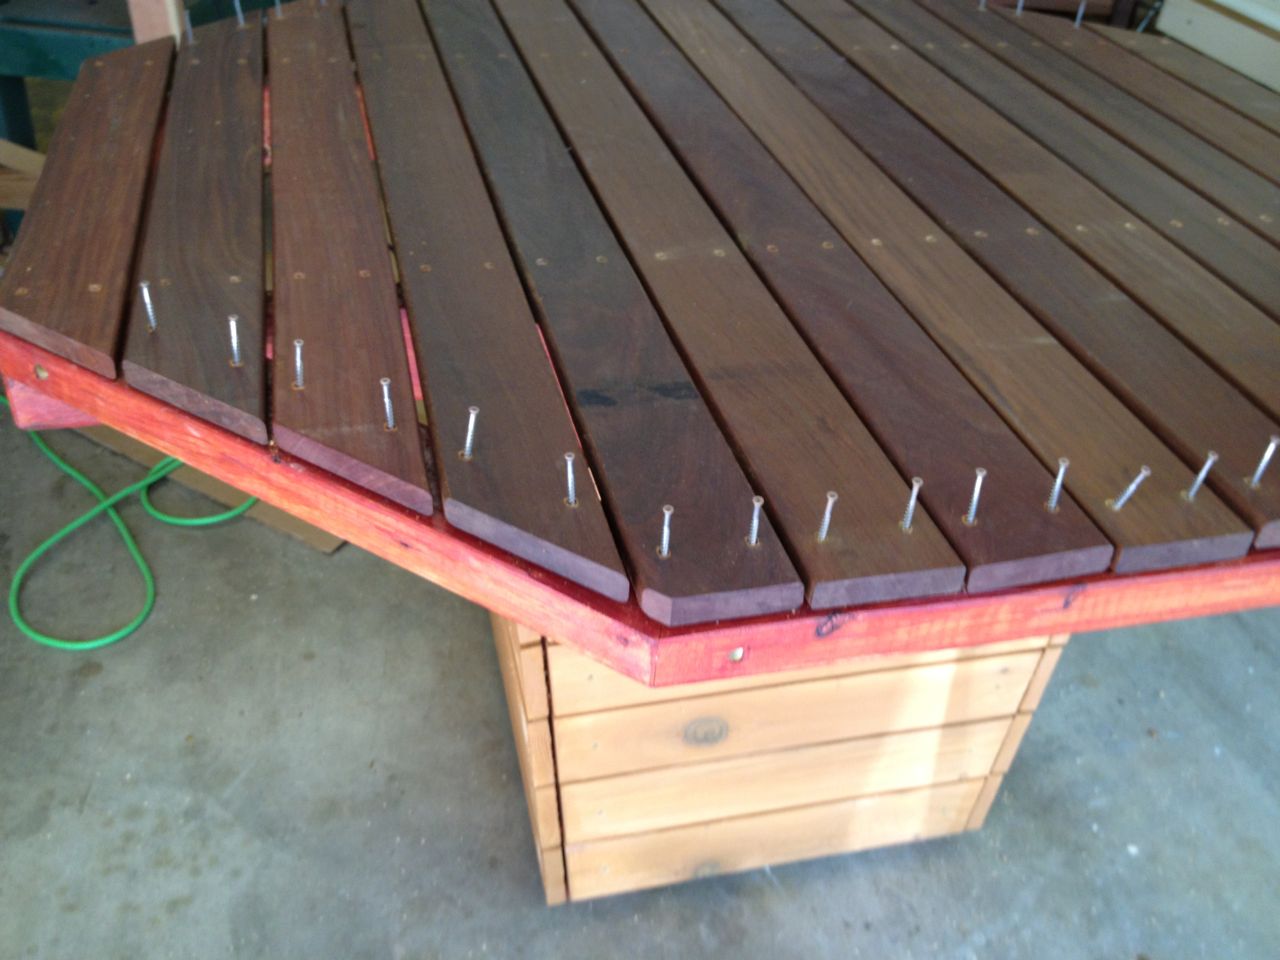
Ipe surface outer screw assembly
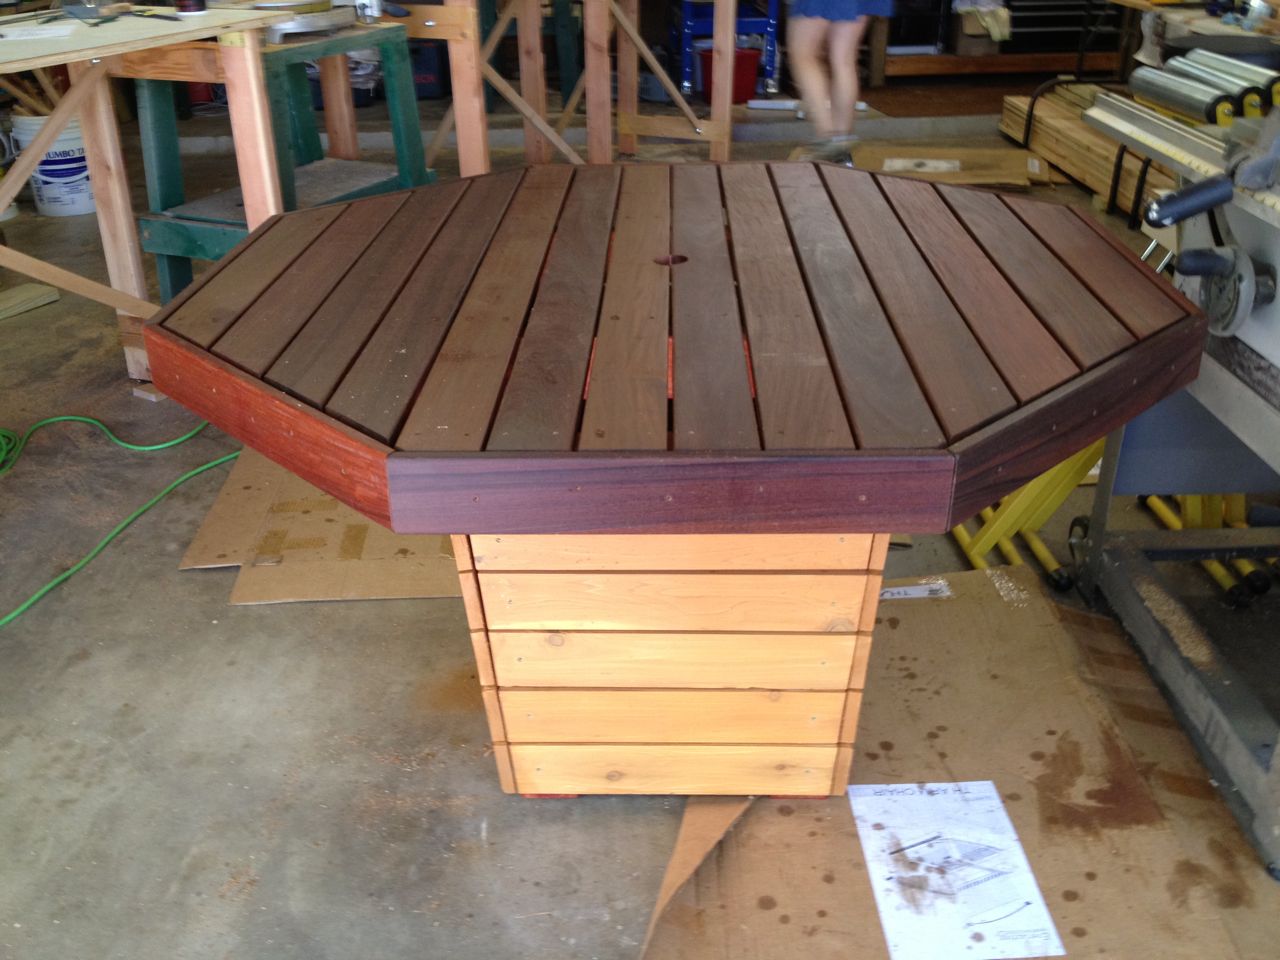
Finished table
Finished table close-up

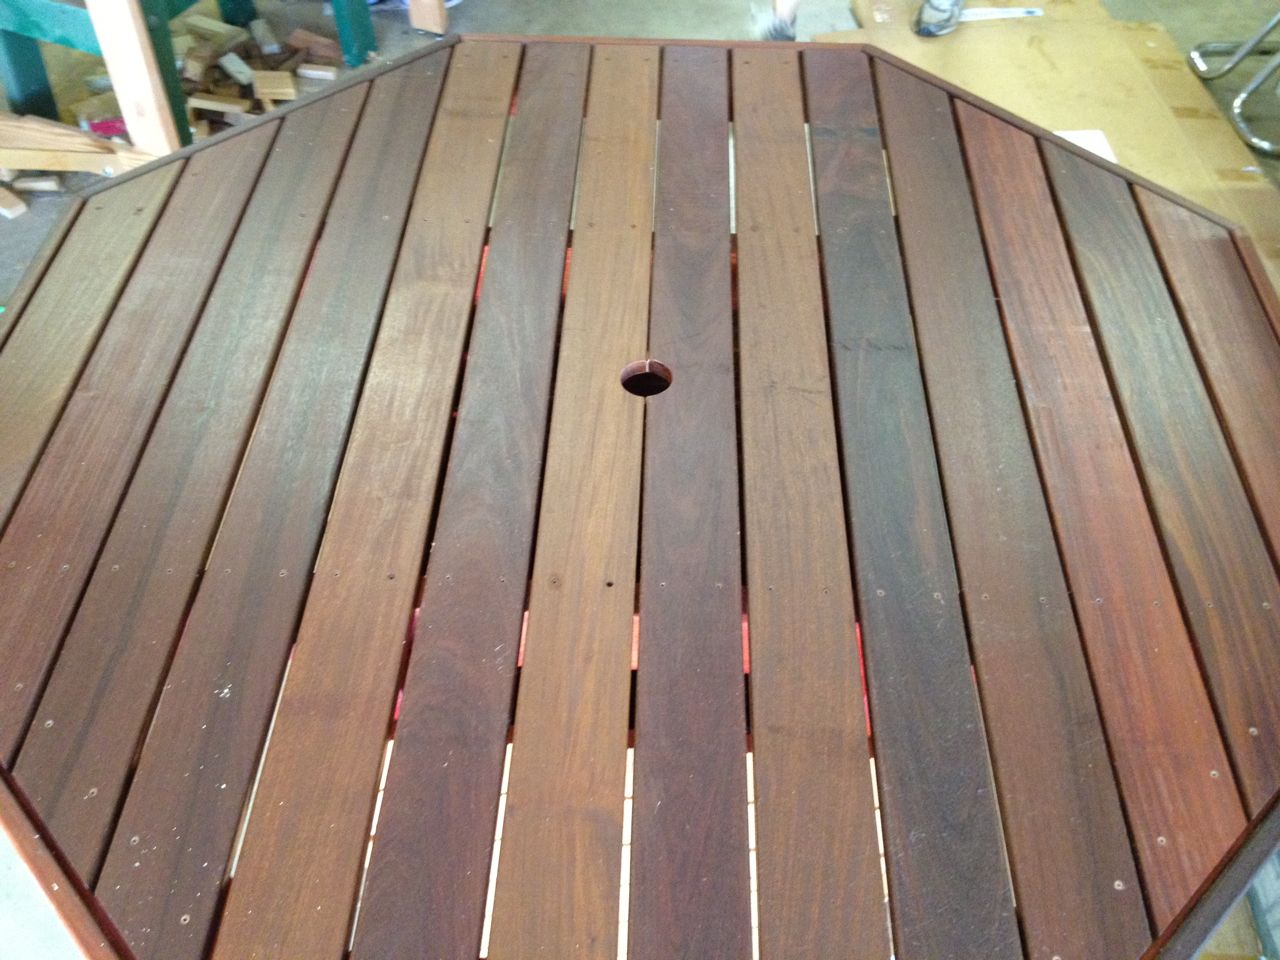
Umbrella hole close-up
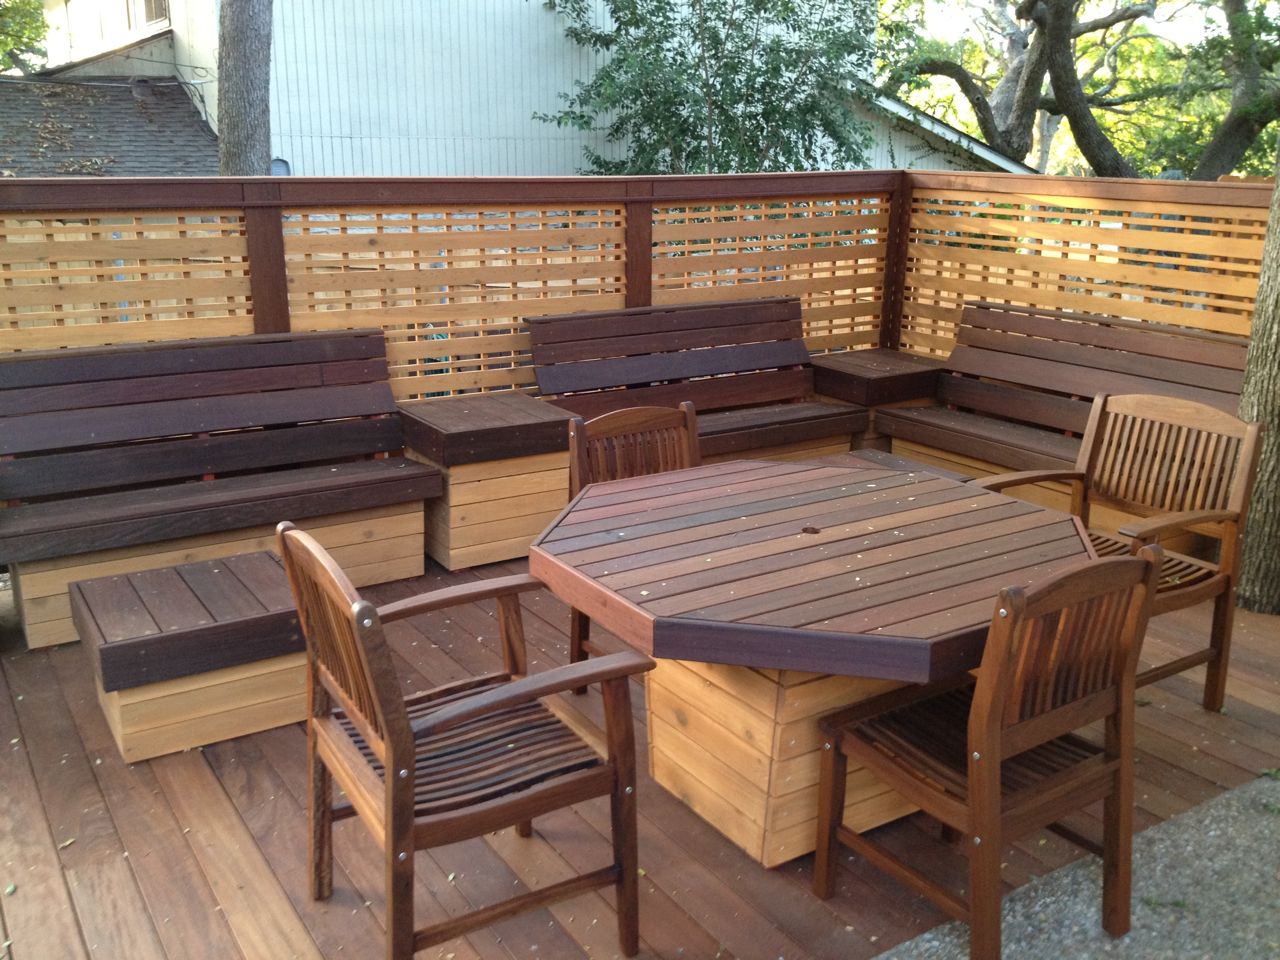
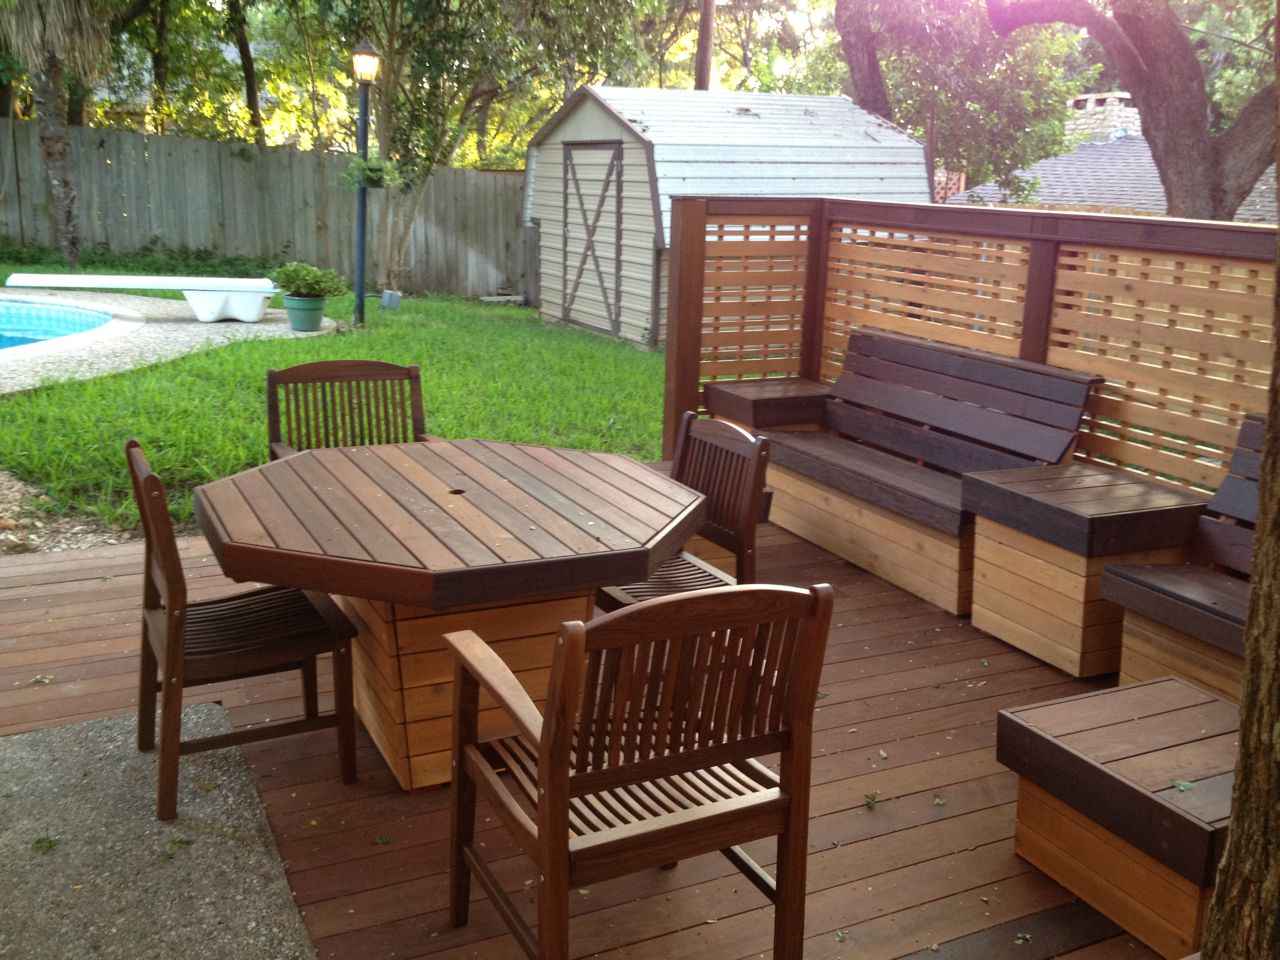
Table on deck - north view
Table on deck - south view
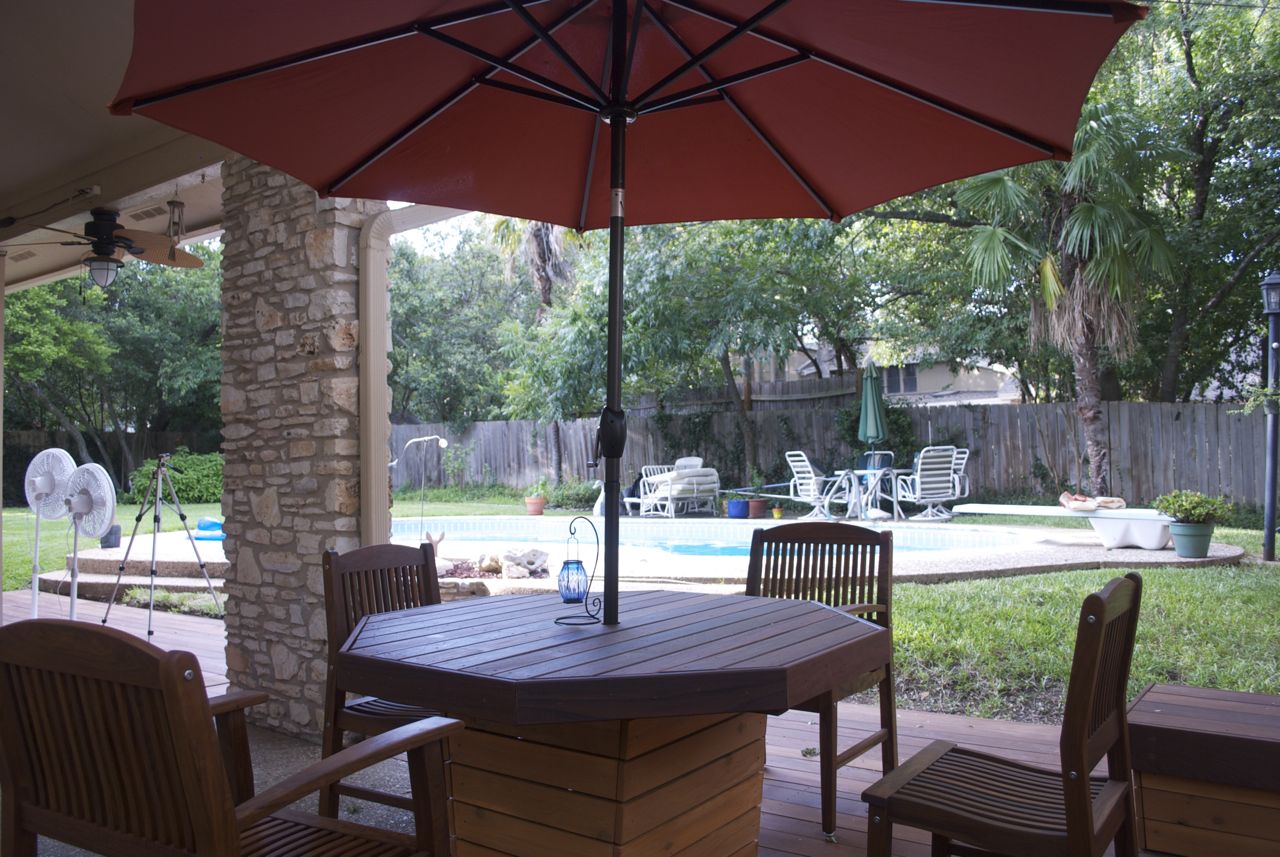
New umbrella installed
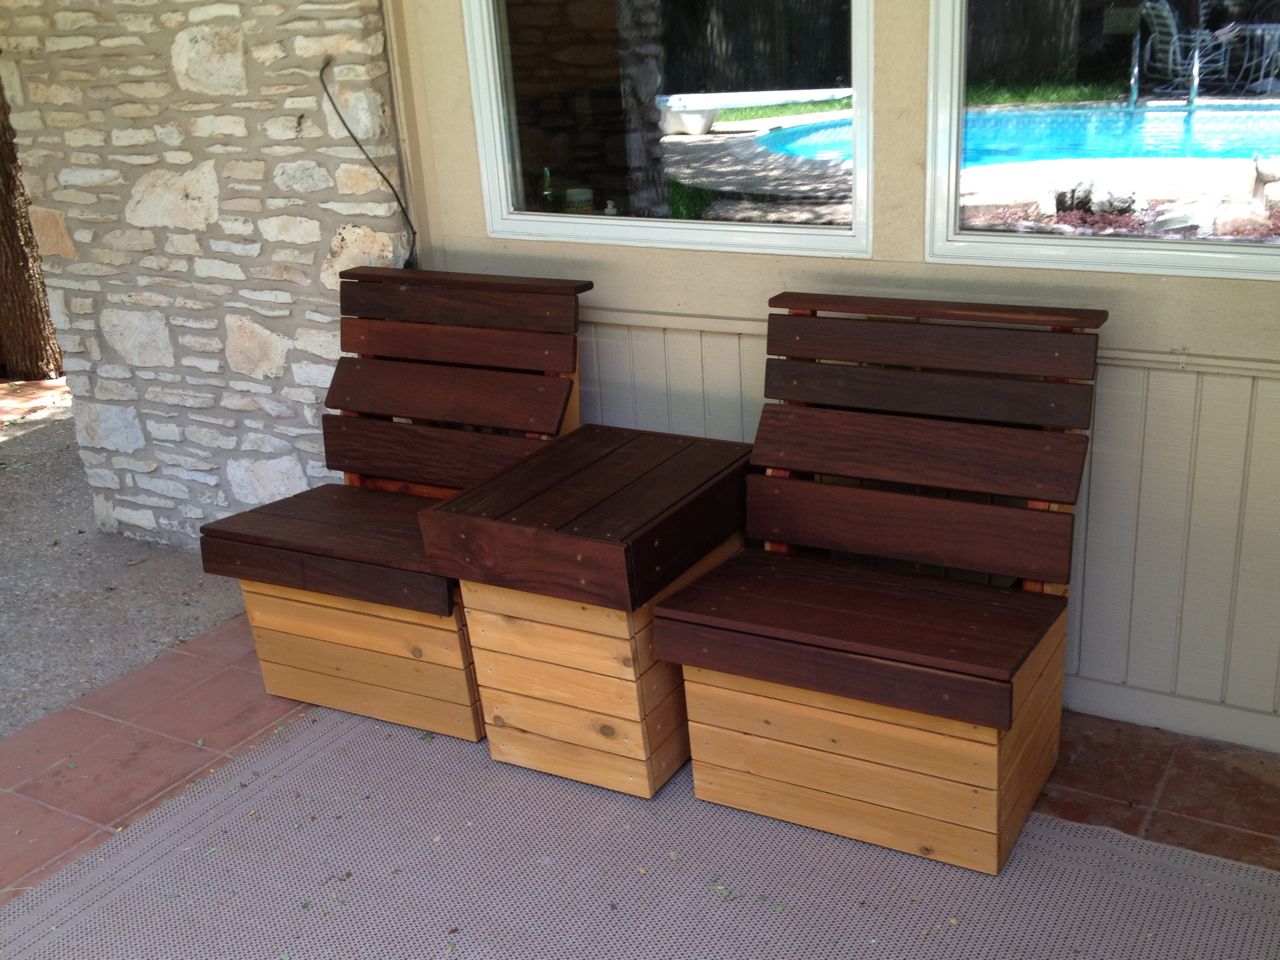
Porch Furniture: Seats and Side Table
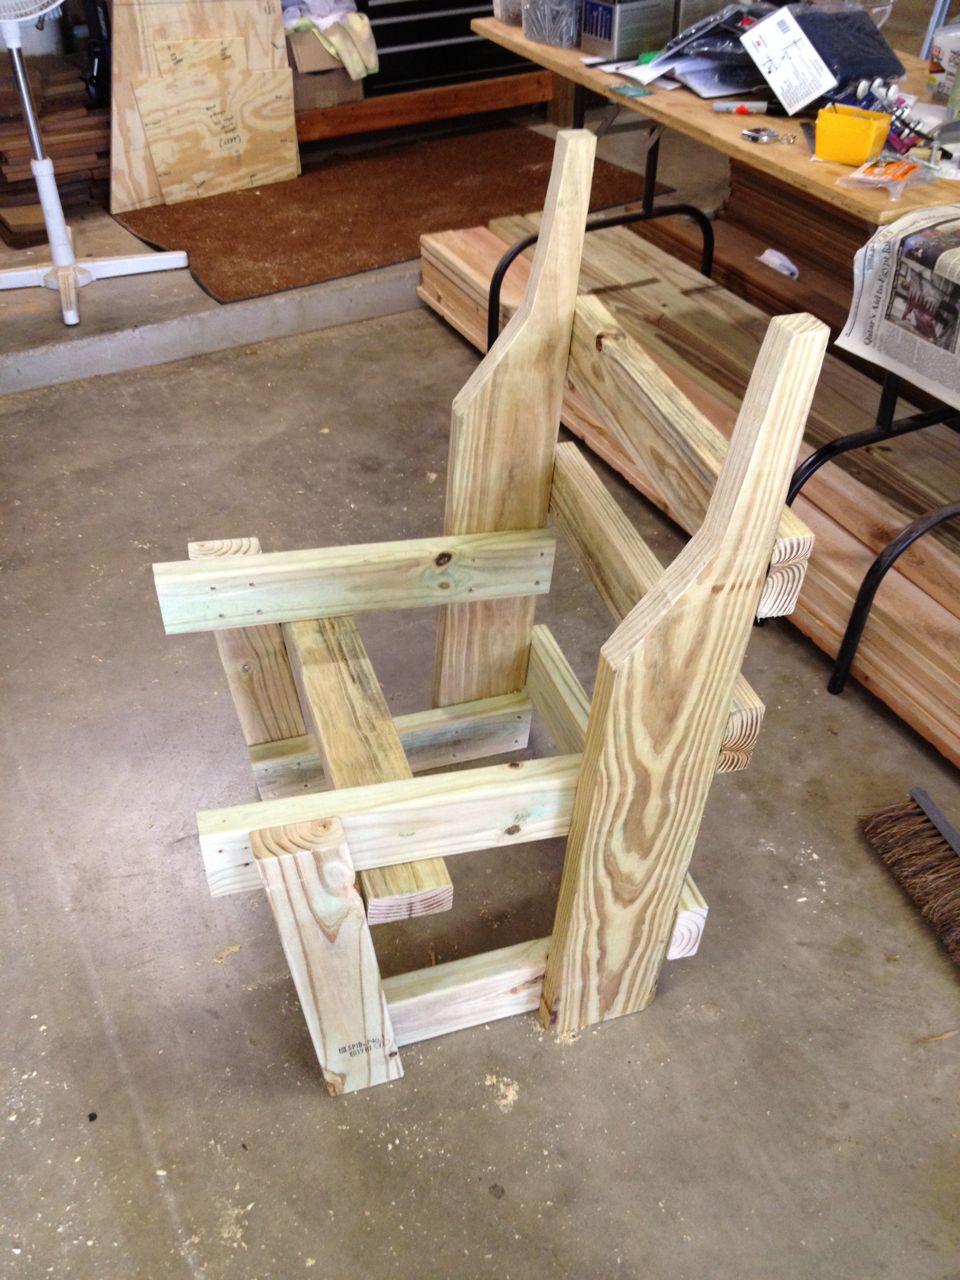
Completed chair frame
When we moved into the house (14 years ago), we inherited patio
furniture that included a love seat sized bench that swings a bit. This
sits under the porch so is a nice place to sit, no matter what the
weather. This bench was in need of replacing, so I decided to make a
couple seats to replace this that would match the rest of the deck
furniture. I also wanted to add a side table as that is always handy
when you are sitting. For the chairs, I just made smaller versions of
the deck benches I designed and built for the Phase I Deck Furniture
Project. For the table, I just made one more of the smaller side
tables I had already made for the deck furniture. I had all the
templates I needed to make these quickly and the design had proven to
be comfortable.
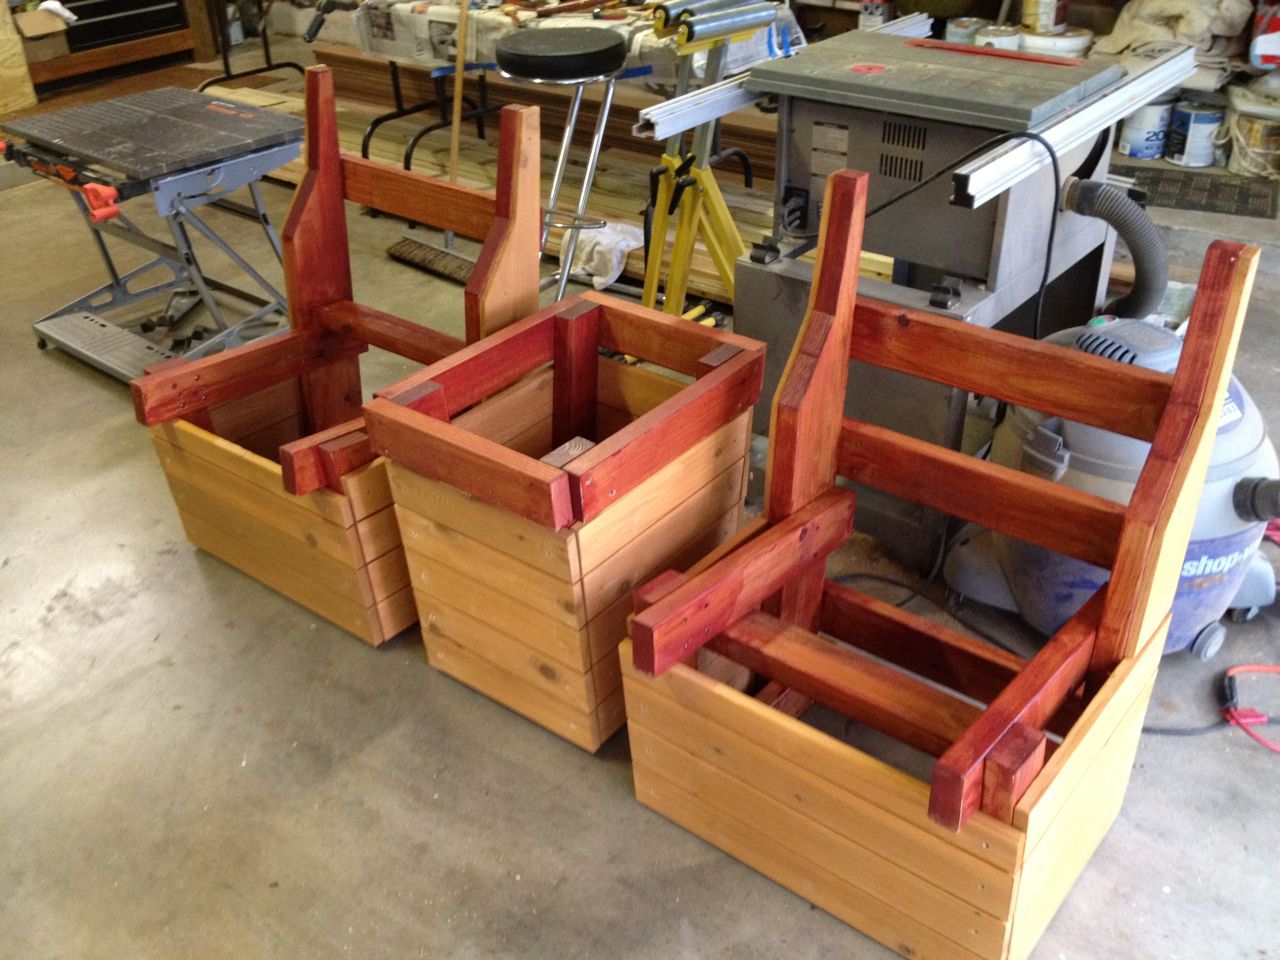
Everything done but Ipe surfaces
Prototype and new frames
When I was designing the benches, I had actually made a smaller
prototype out of materials I had lying around. This was a bench that
was only 2 feet long, which had the effect of being a chair. This
prototype sat in my shop (a.k.a., garage) for months during the process
of building all the other furniture and I used it constantly as a
comfortable resting place. I needed two chairs for the porch, so I
decided to re-use the frame of the prototype for one of these chairs.
The frame was the only thing that was made of the right materials
(pressure treated wood). I did have to replace the screws with the
drywall screws I originally used with some stainless steel ones for
outdoor use.
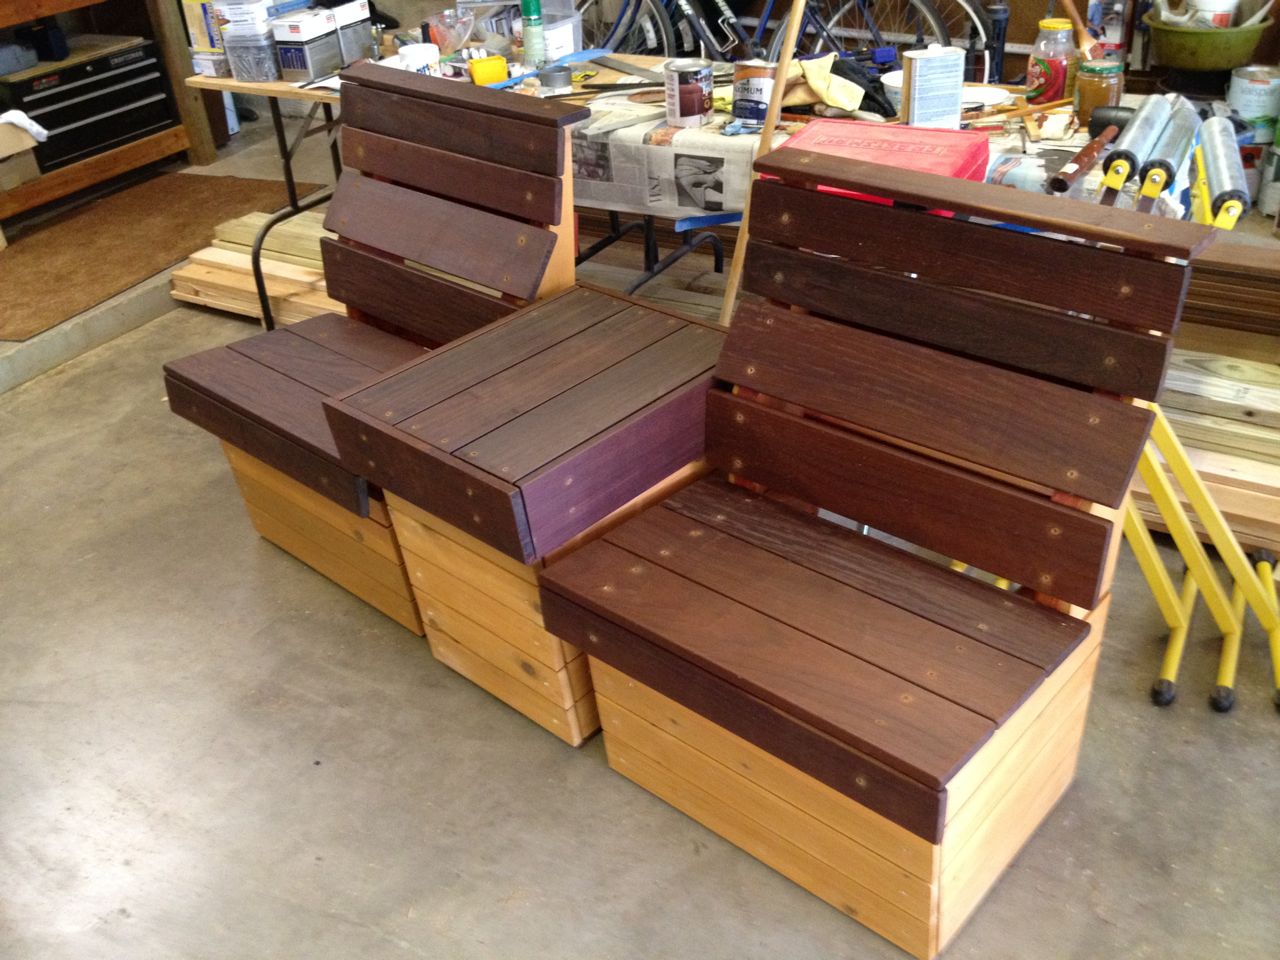
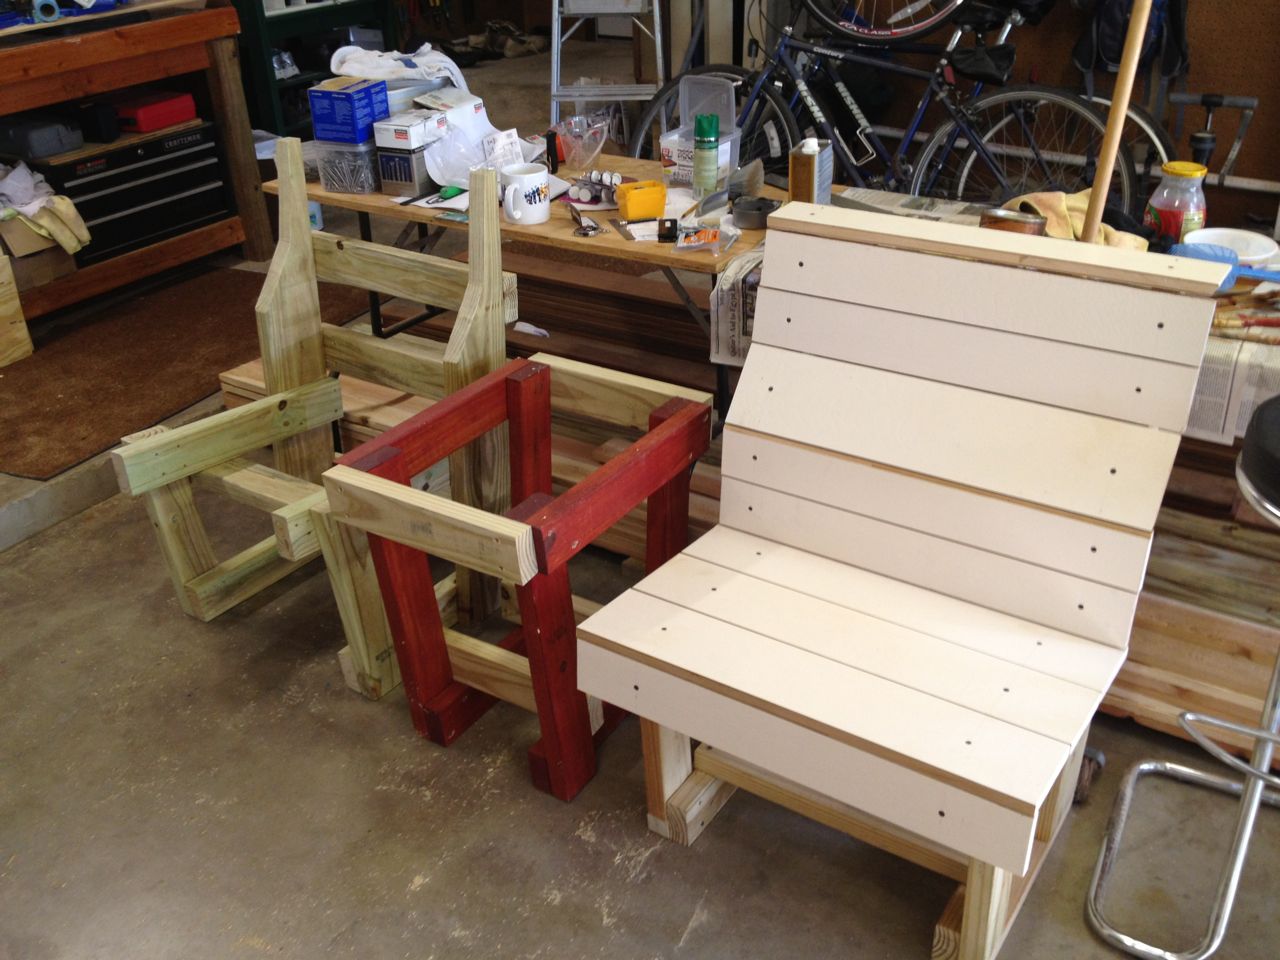
Completed - side view

Completed - front view
Installed on porch
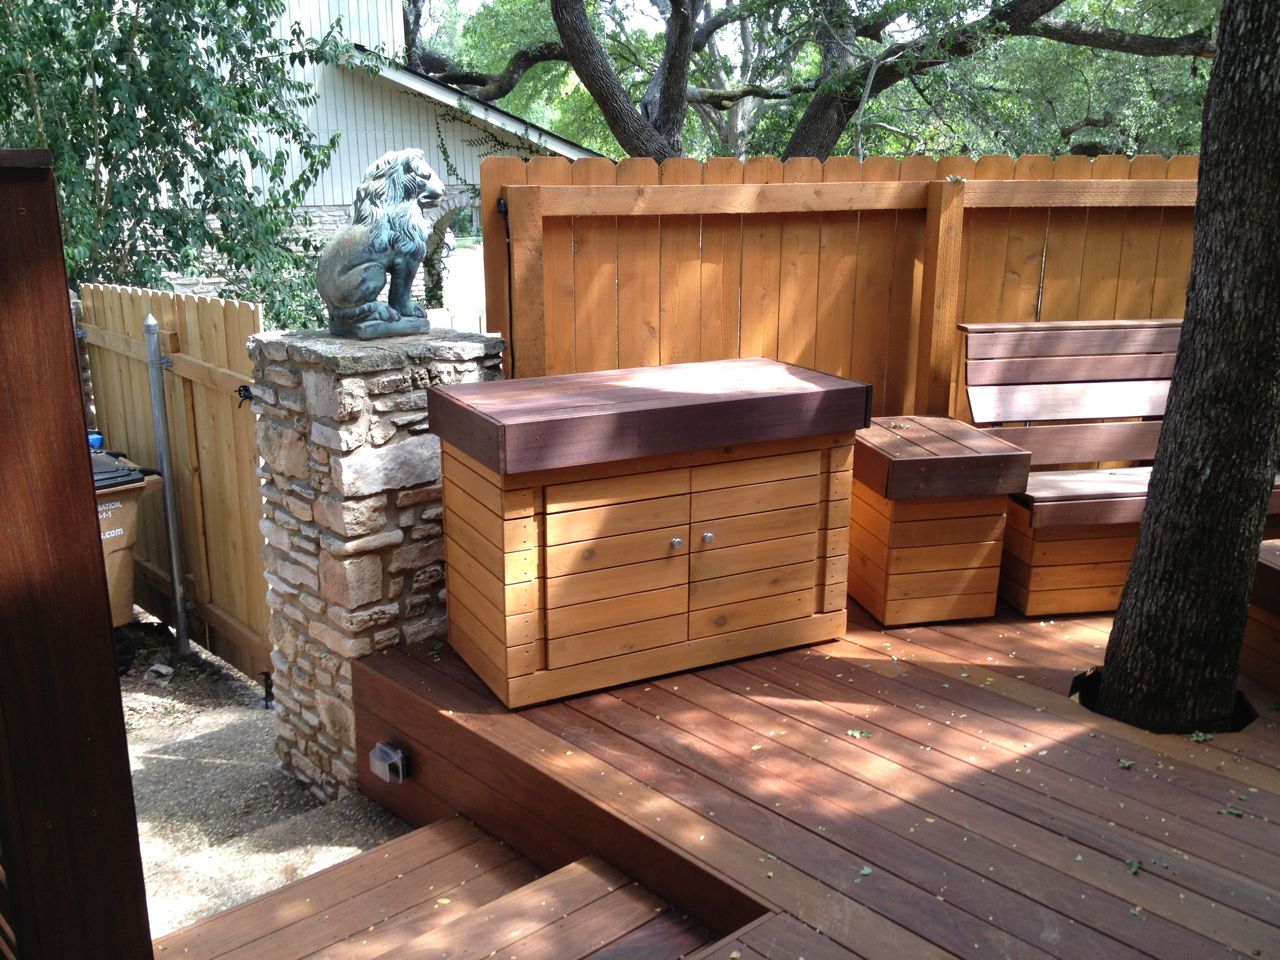
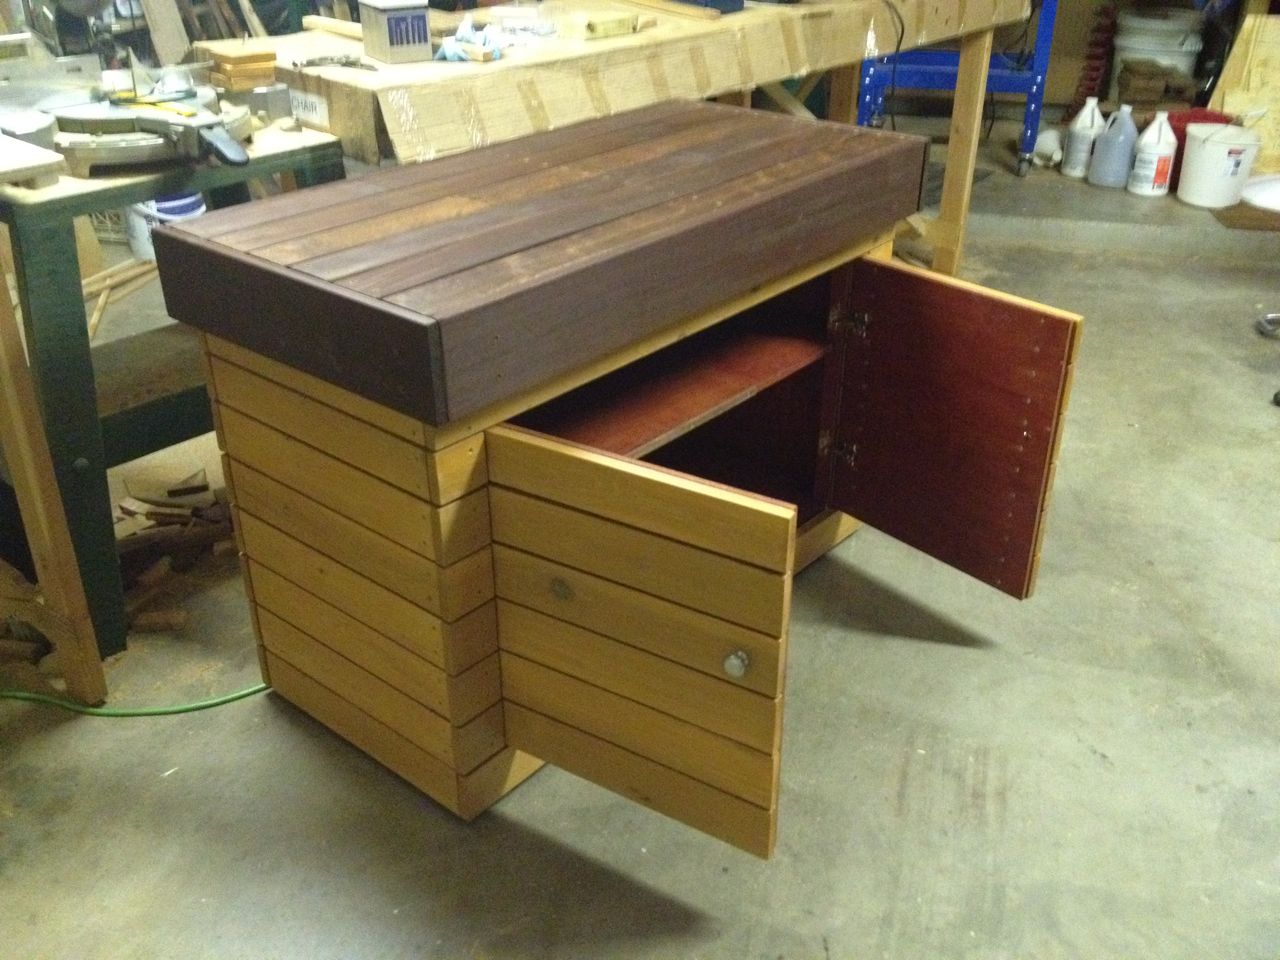
Work Table and Cabinet
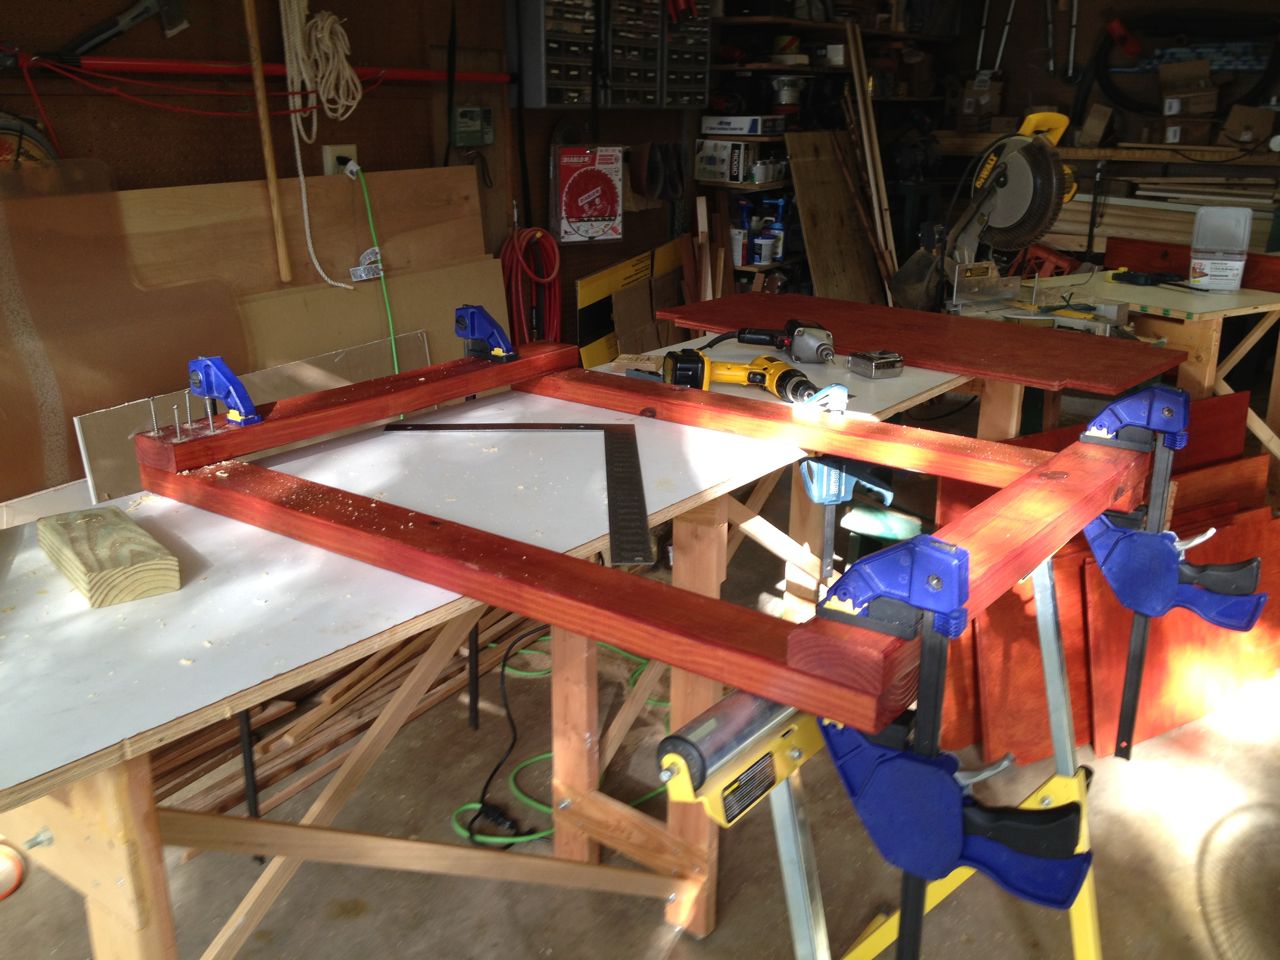
Assembling main front/back frames

Model rendering of work table
I wanted a work-height table in the backyard so I could work closer to
where a lot of the outdoor projects tend to take place. The outdoor
projects (i.e., pool pump repair, lawn mower repairs) tend to be
unplanned, and as such, the work bench in my garage is often occupied
with something else, and it is also a hassle to maneuver clunking
equipment if the cars are in the garage.
My wife had also suggested adding some cabinets for storage, which
wound up being a great idea. Projects tend to span days, so having a
place to stash tools and such overnight would be handier than dragging
them all back into the garage.
All the other furniture has one side sloped in at a 5 degree angle.
This is purposeful for the benches for the right ergonomics, but it is
a stylistic things on the other pieces of deck furniture. I tried to
carry this theme over to thsi work bench, but an angle greatly
complicated the structure when having to support swinging doors. I
finally gave up and sacrificed better visual appeal for the more
practical goal of keeping the design simple.
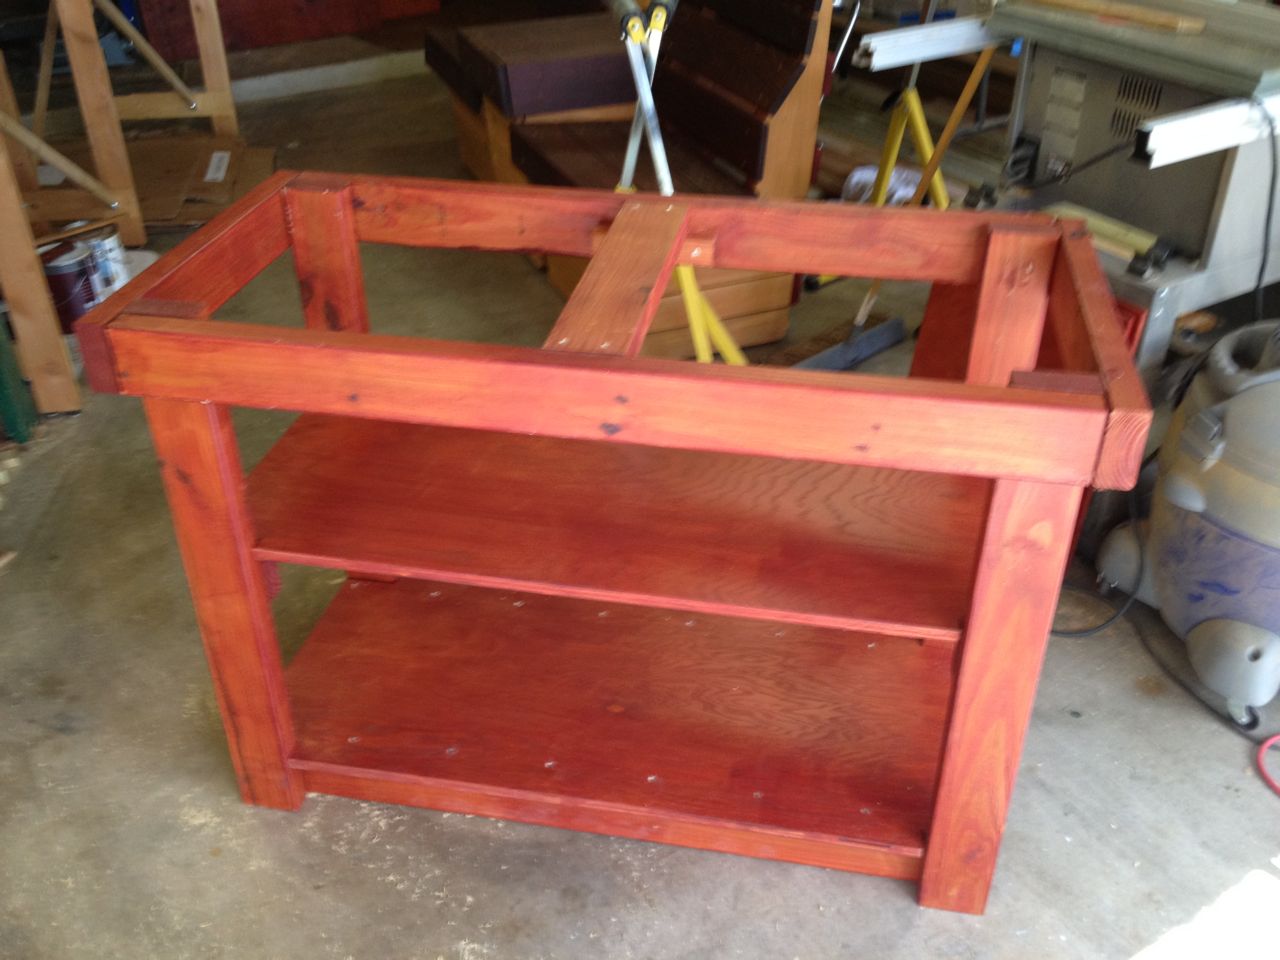
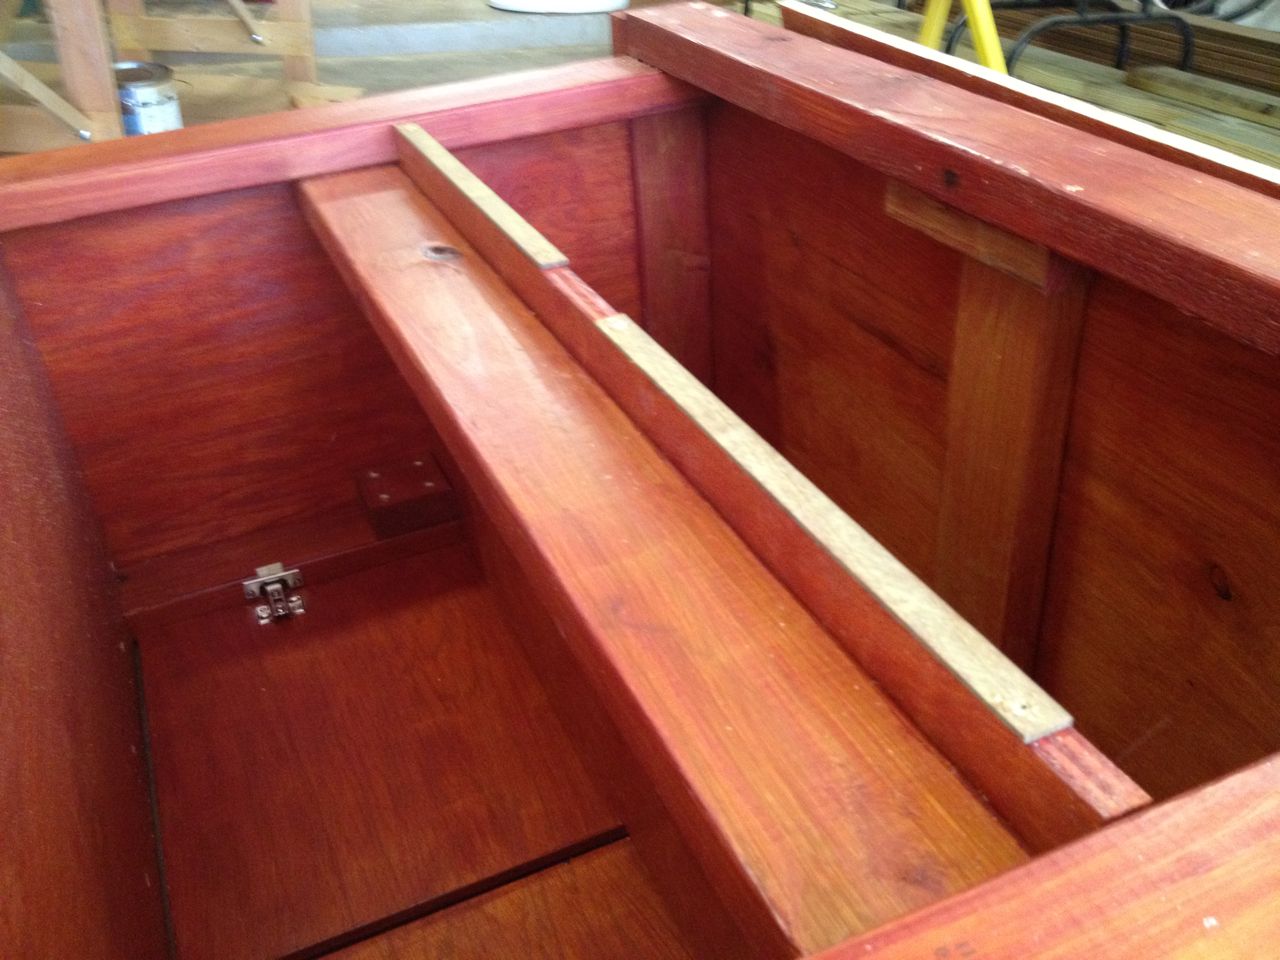
Finished frame
Extra surface support addition
The octogon dining table was relatively similar in design to the side
tables I had made a lot of, so there were only minor issues to work out
when trying to move from the 3-D model to actually building it. The
porch chairs and table were even less eventful since they were so
similar to the previously built pieces. This work table however, was
very eventful in terms of having to figure out a lot of unforseen
issues.
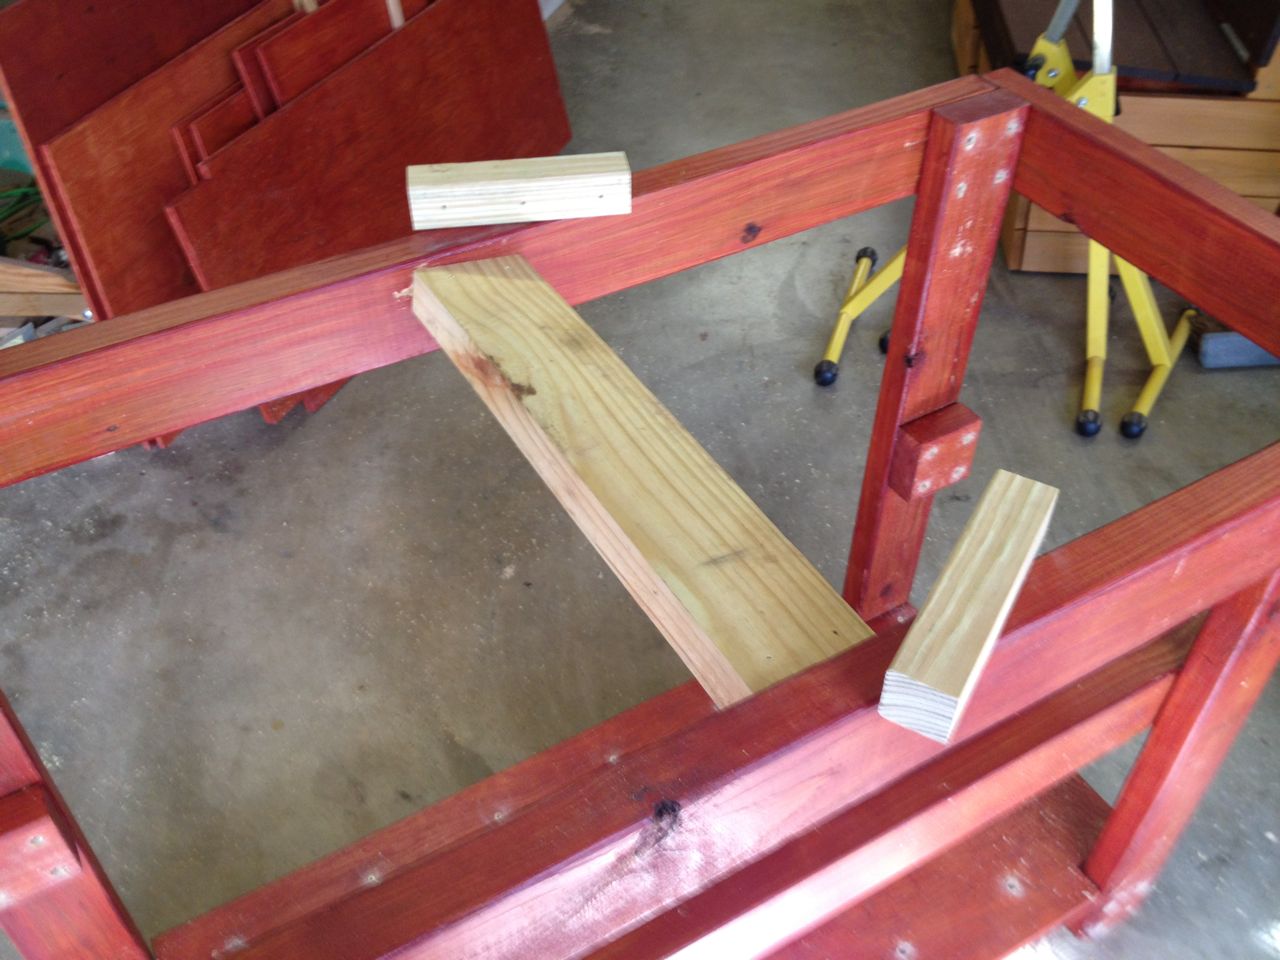
The first adapation was for adding an additional support on the top of
the frame. The span of the surface boards would be too long otherwise:
something I did not think about during the design phase.
Assembling doors

Hinges mounted to door
Besides having cut out the doors and having a 2x4 vertical frame piece
to mount them on, none of the details of how the hinging of the doors
were worked ou. I needed stainless steel hinges to survive outdoors
and none of the local places seemed to have such a thing, so I resorted
to Amazon. This meant waiting for the parts to arrive before I would
know exactly how to lay out the rest of the project.
The stainless hinges I found were not the highest quality items, and I
would need to use my own stainless screws for them instead of the
non-weatherproof ones that came with it. However, oevrall, the hinges
would do the job.
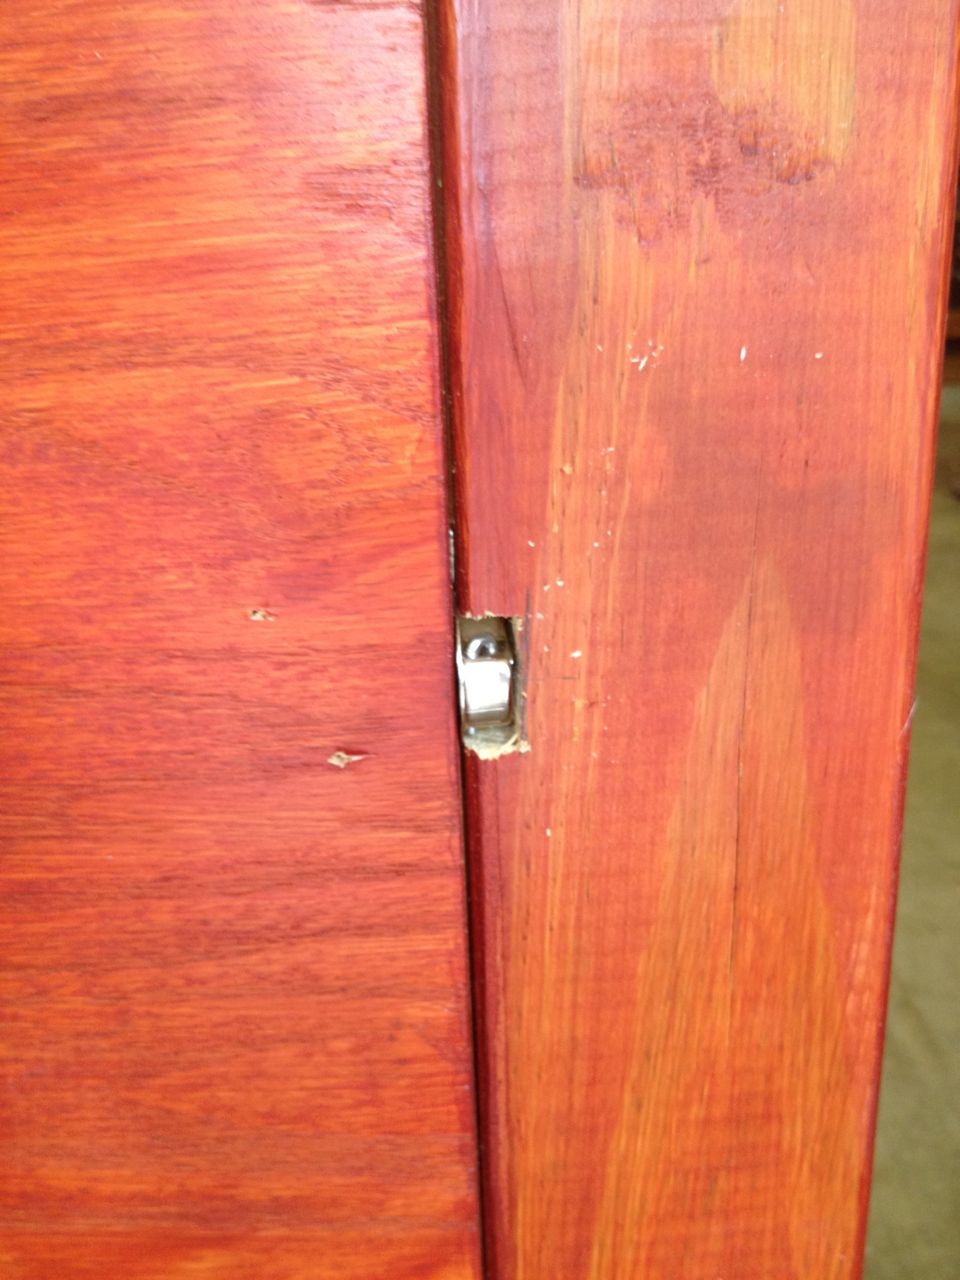
Hinge from outside

Hinge on inside after assembly
On top of the door surface, and on top of the entire frame would be a
layer of cedar "skirting", which would make it match all the other deck
furniture. At this point, I knew there would be some tricky issues to
work out regarding the way the door hinged and the addition of a 3/4"
thick piece of cedar. As it was now, the doors hinged nicely and were
flush to the frame, but the cedar would get in the way, so something
would have to be worked out. The hinge design was such that you could
see some of it, or at least the simple way I chose to cut out the wood
did this. I would want to hide that in the finished result with the
cedar somehow.
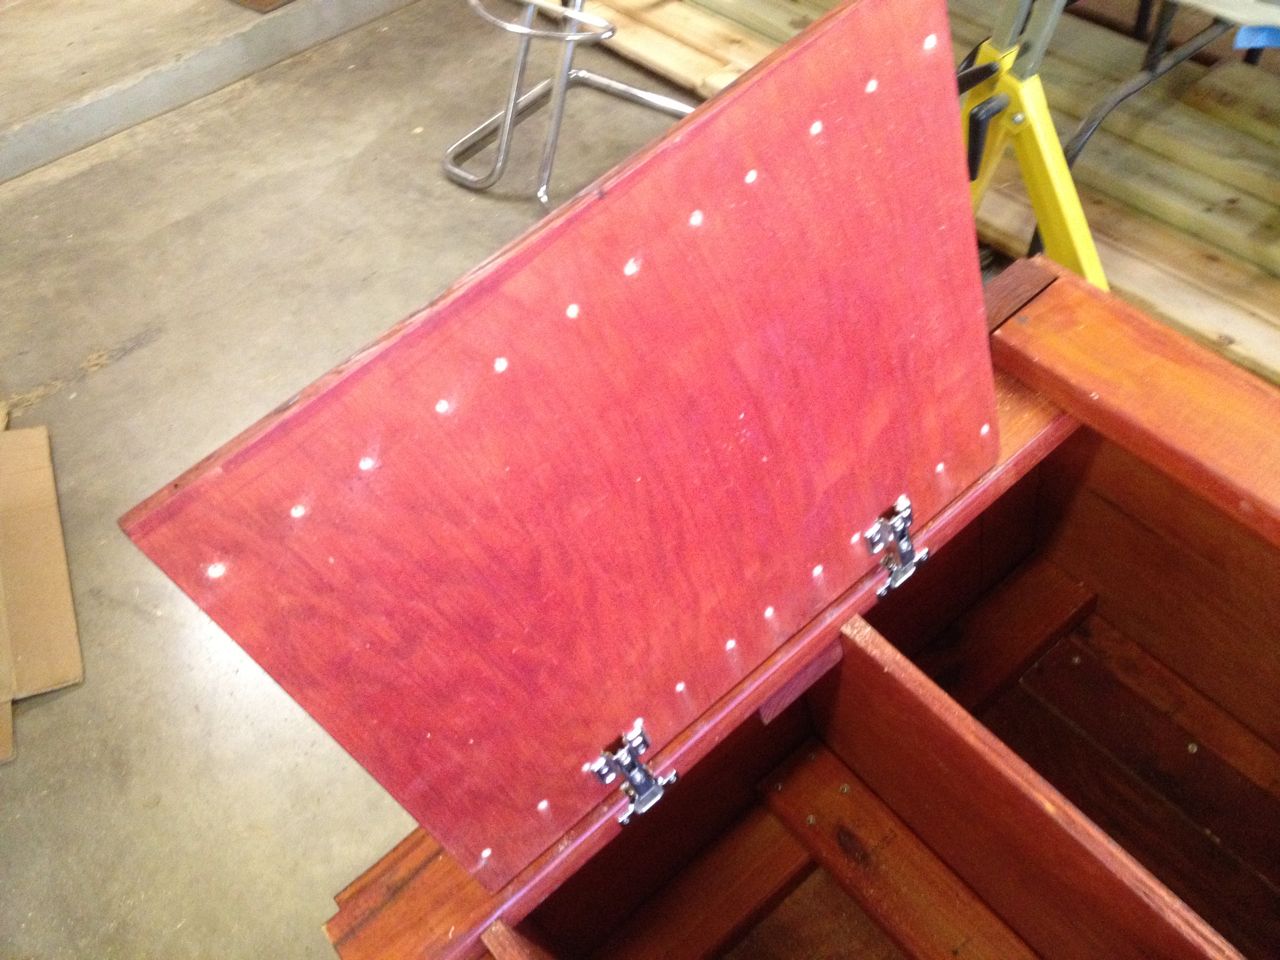
Improvised top support for back plywood
Shims needed for rear plywood support
Another big difference between this work table and all the other
furniture was that I wanted the interior to be somewhat protected from
the elements. With the other furniture, all the surface wood has 1/8"
gaps so water and smal debris can just fall through and generally would
wind up on the ground. With the cabinet, I would want to be able to
store things in here without them getting soaked. I also did not want
any animals crawling in and making it their home.
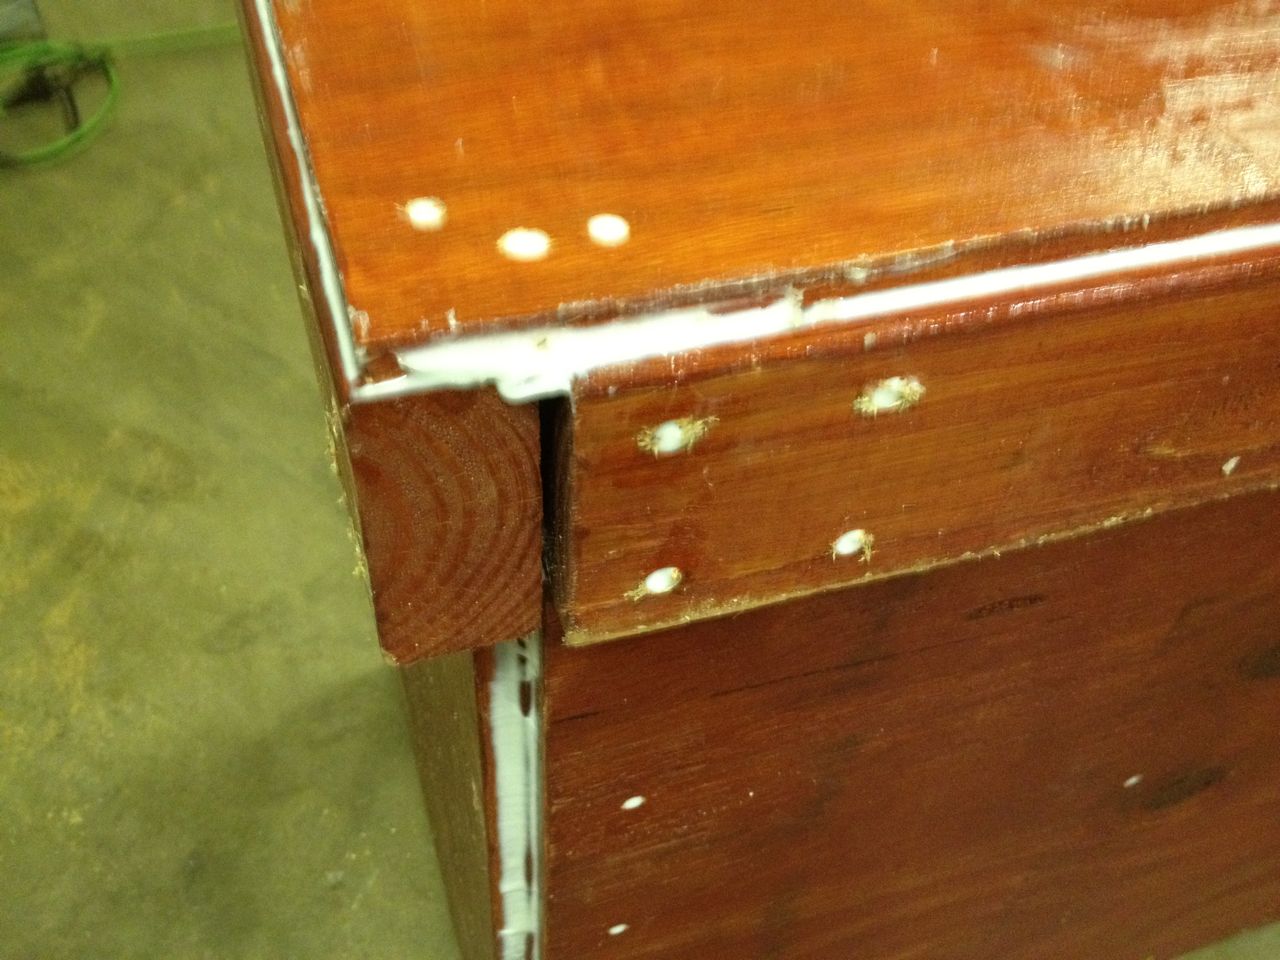
What I did was to add a shell of plywood to this frame to created a
closed compartment for the entire interior. Here is were I ran into a
couple other design flaws. I did not think about how I would need to
secured the back plywood to the the existing bottom and middle shelves,
and thus needed to add shims to get them flush. I also had nothing to
adhere the back plywood to in the top middle part, so I had to
improvise an additional support piece.
Silicone sealing close-up
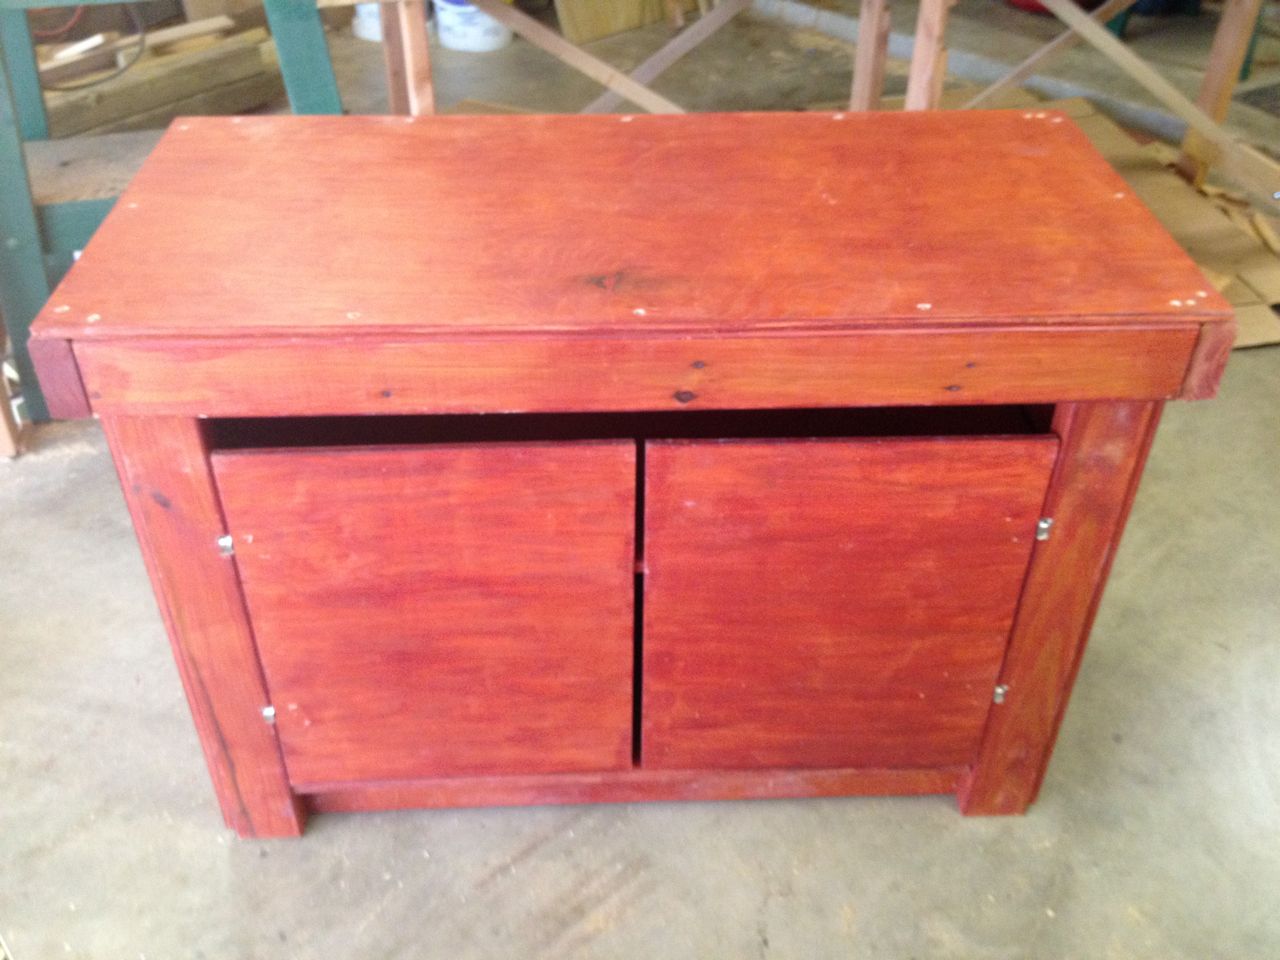
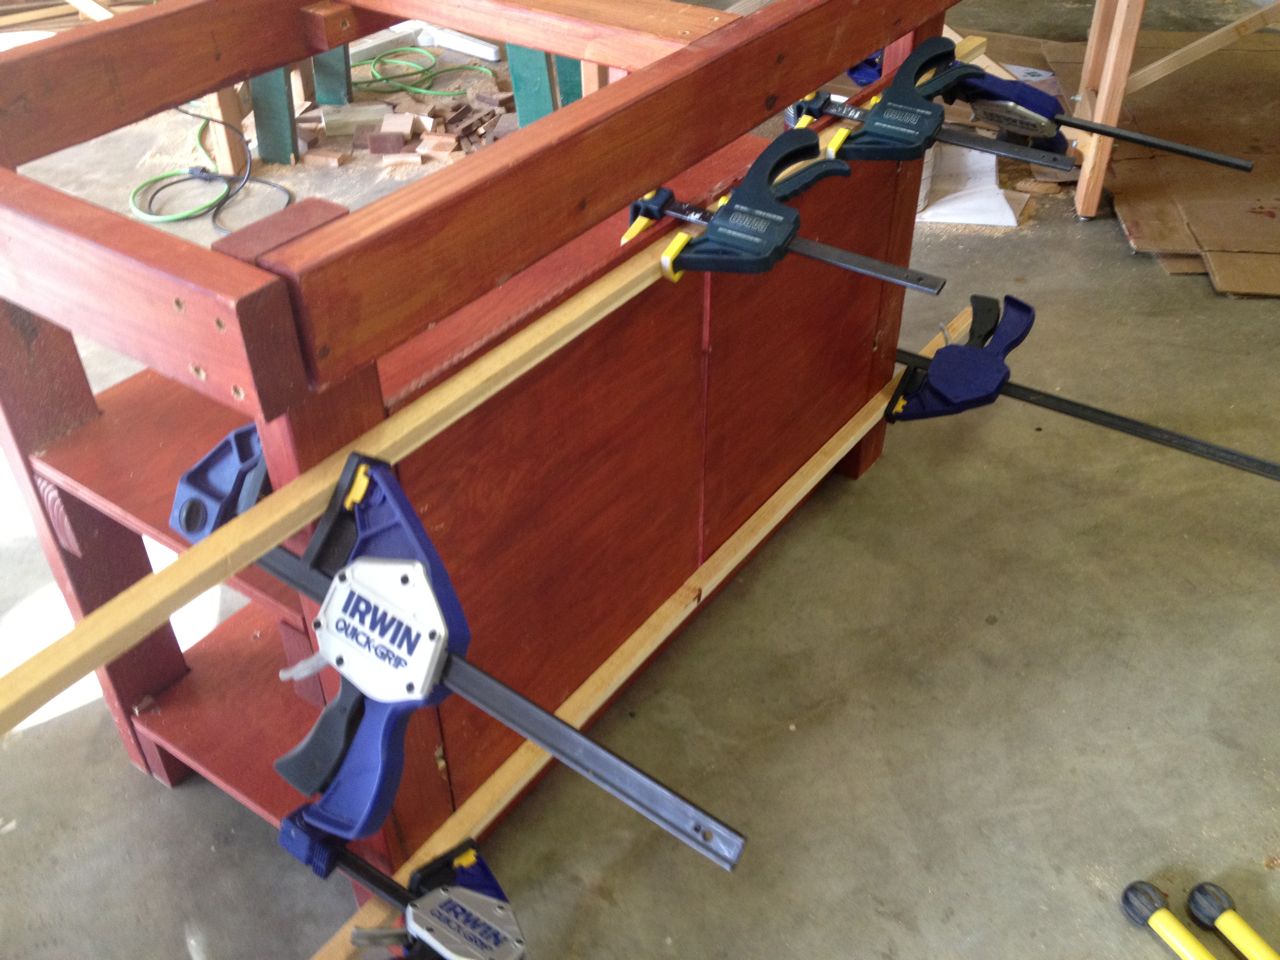
Completed work table frame
With the door installed, and all the plywood encasing in place, I then
took some silicone sealant and went to town. I try to imagine I was
water and think about where I would go, and I plugged up every place I
find that I thought would admit water. I also coated the entire top
surface plywood with a layer of silicone. The surface will have Ipe
wood with 1/8" gaps, so water will go in and sit on top of the plywood.
Though it was stained andn sealed, I still did not trust this would
last as long as I would like, so I hope this silicone layer will help
that. Note that the silicone in the picture is white, but it dries
clear. None of this silicone will be visible though, so it did not
matter so much.
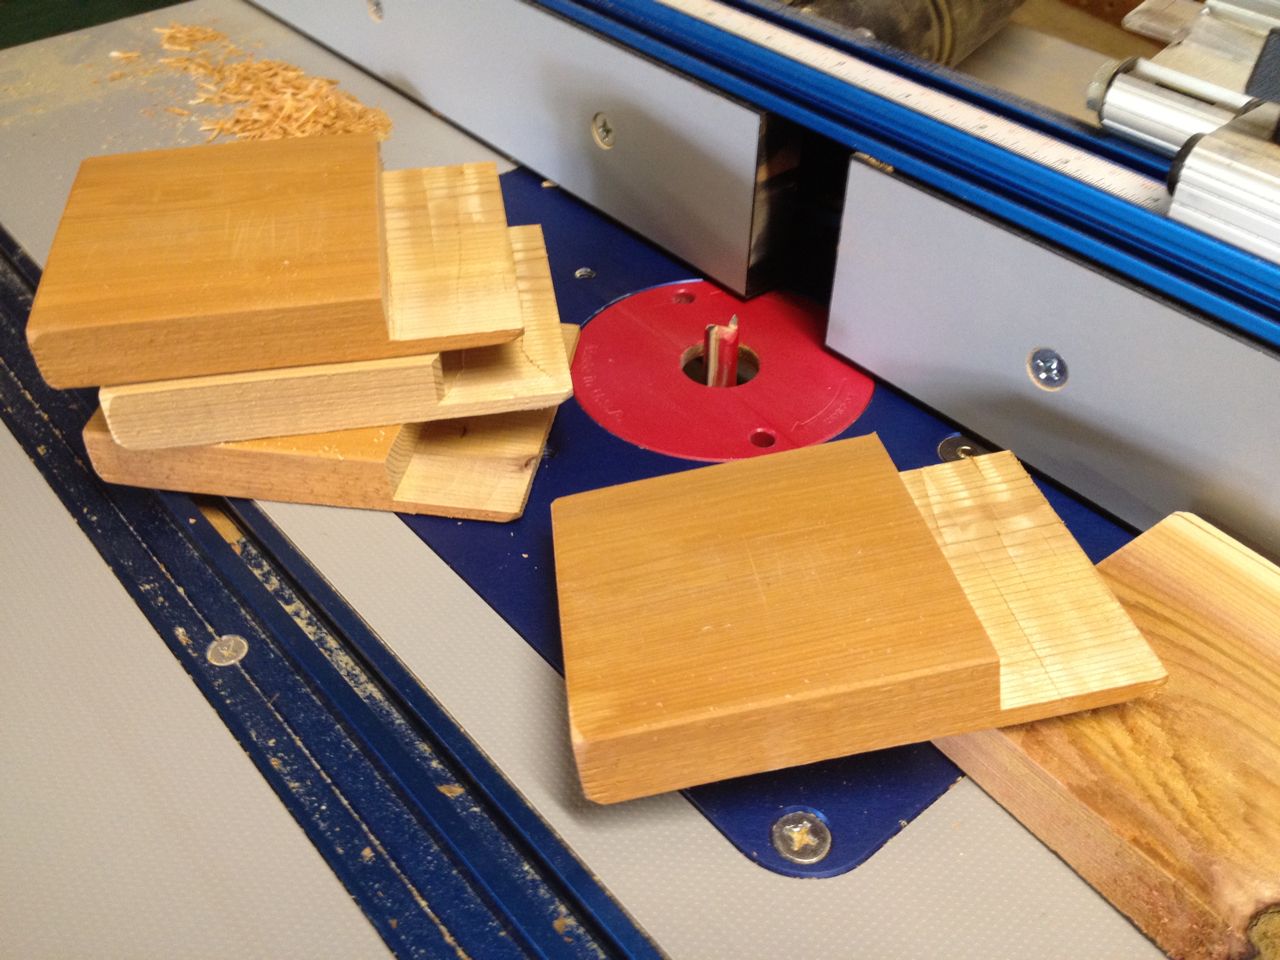
Special cedar pieces for door operation
Planning the cedar skirting layout
I was now ready to tackle the issue with how to dress up the frame with
the cedar skirting, while still allowing the doors to swing open. I
originally though all I needed to do was to put a 45 degree bevel on
the door and the post side. However, I found that this would have only
worked if the door hinged exactly along the border, which it did not.
Instead, the doors swing completely clear of the opening, which meant
coming up with some other solution. During the day, I tried a few
different ideas. Some would not work, be too complicated or result in
an unsatisfactory appearance. Nothing was resolved. Later that night,
going back into the shop to ponder this some more (after some
incubation period), I came up with a reasonably good solution.
When the doors swing out, there is about a 3/16" clearance, so I used
my router table to create a cedar skirting piece that was very thin in
one part. This would hide the hinge and visually match the horizontal
cedar look. There would be abit of an indentation, but that wound up
not being all that visually unappealing.
Inside door with cedar mounting screws

Door with cedar installed
With the door hinging problem solved, I could now install the cedar
skirting. I wanted the horizontal lines between the cedar pieces to be
aligned all the way around the cabinet, and since the doors were the
place where things had to line up more precisely, I had to install the
cedar on the doors first.
I decided to screw the cedar in from the back instead of from the front
like all the other cedar was. I think visually this is better, but the
real reasons had to do with the available fasteners I had. I had
1-5/8" screws I used for the cedar, and these would be too long to go
into 3/4" cedar and the 1/2" plywood door. I also has 1,000 stainless
steel screws (#6) that were 1-1/4" long which results from my not
checking carefully when I meant to order 100. I had been using these
screws every chance I got.
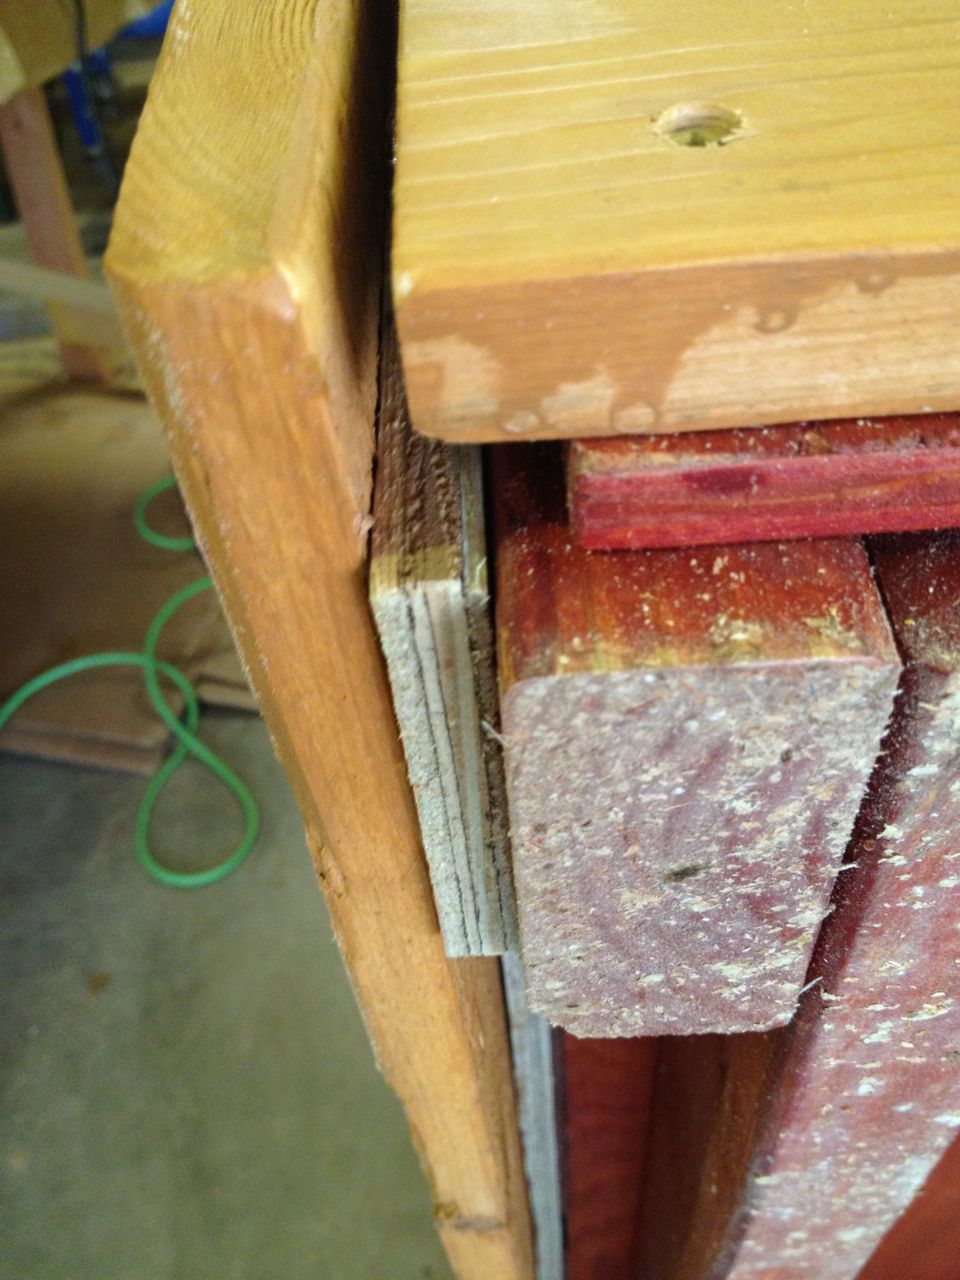
Shim for rear cedar piece

Improvised front cedar support
At this point I thought I was home-free and there were no more
unforeseen issues to be tackled. Of course, I was wrong. The front
upper pieces of cedar, similar to the back plywood, had nothing to
adhere to in the middle, making it too wobbly for me. I added an
identical support piece to the one I improvised for the back plywood.
I had originally not planned to add cedar skirting to the back of the
cabinet, but during my late nigfht inspirational session, chnaged my
mind. The result was that then bottom back cedar piece had nothing to
adhere to that would keep it flush with the rest of the boards. I had
to add a couple shims to compensate.
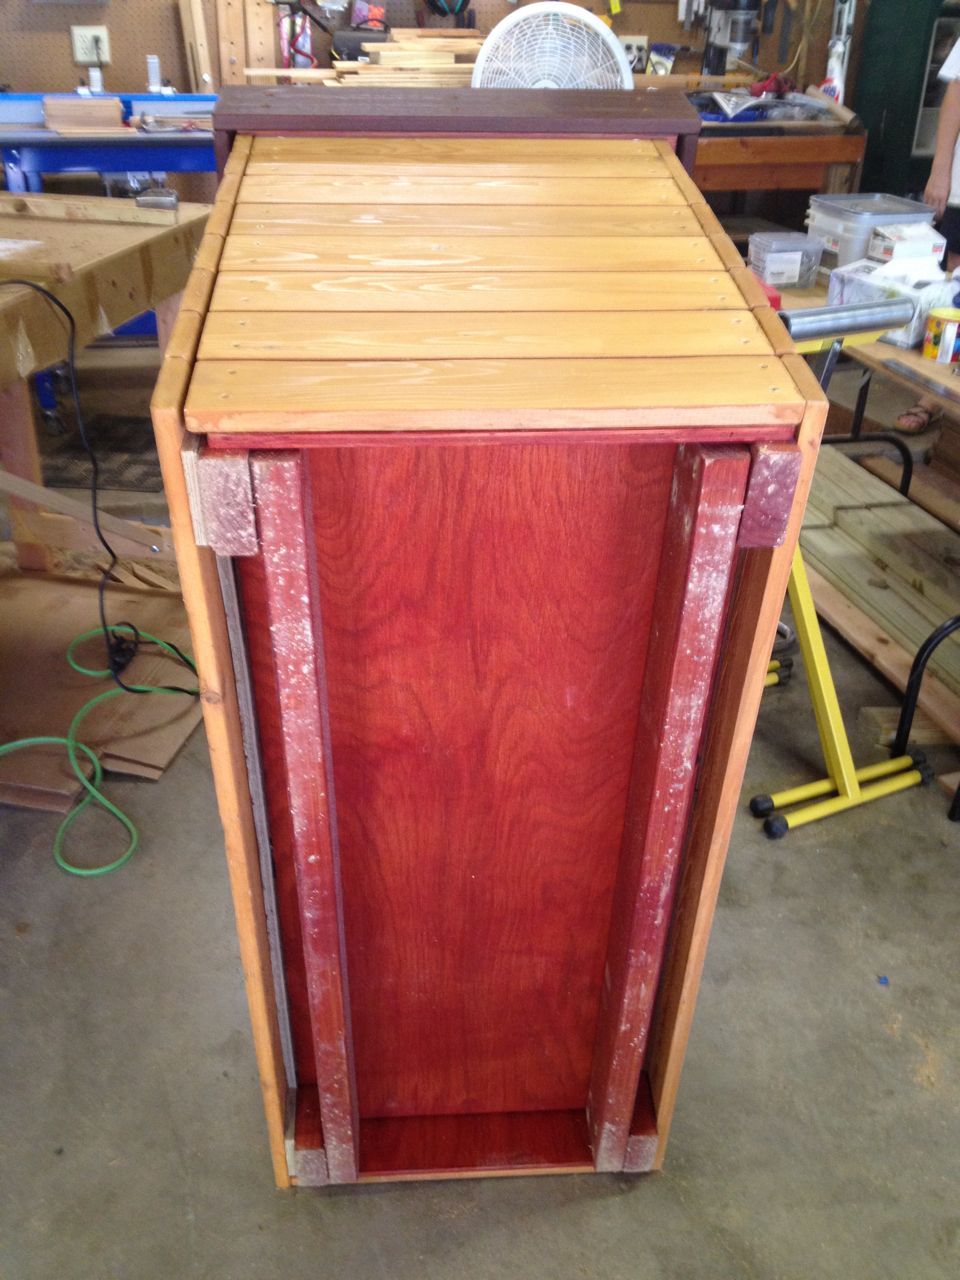
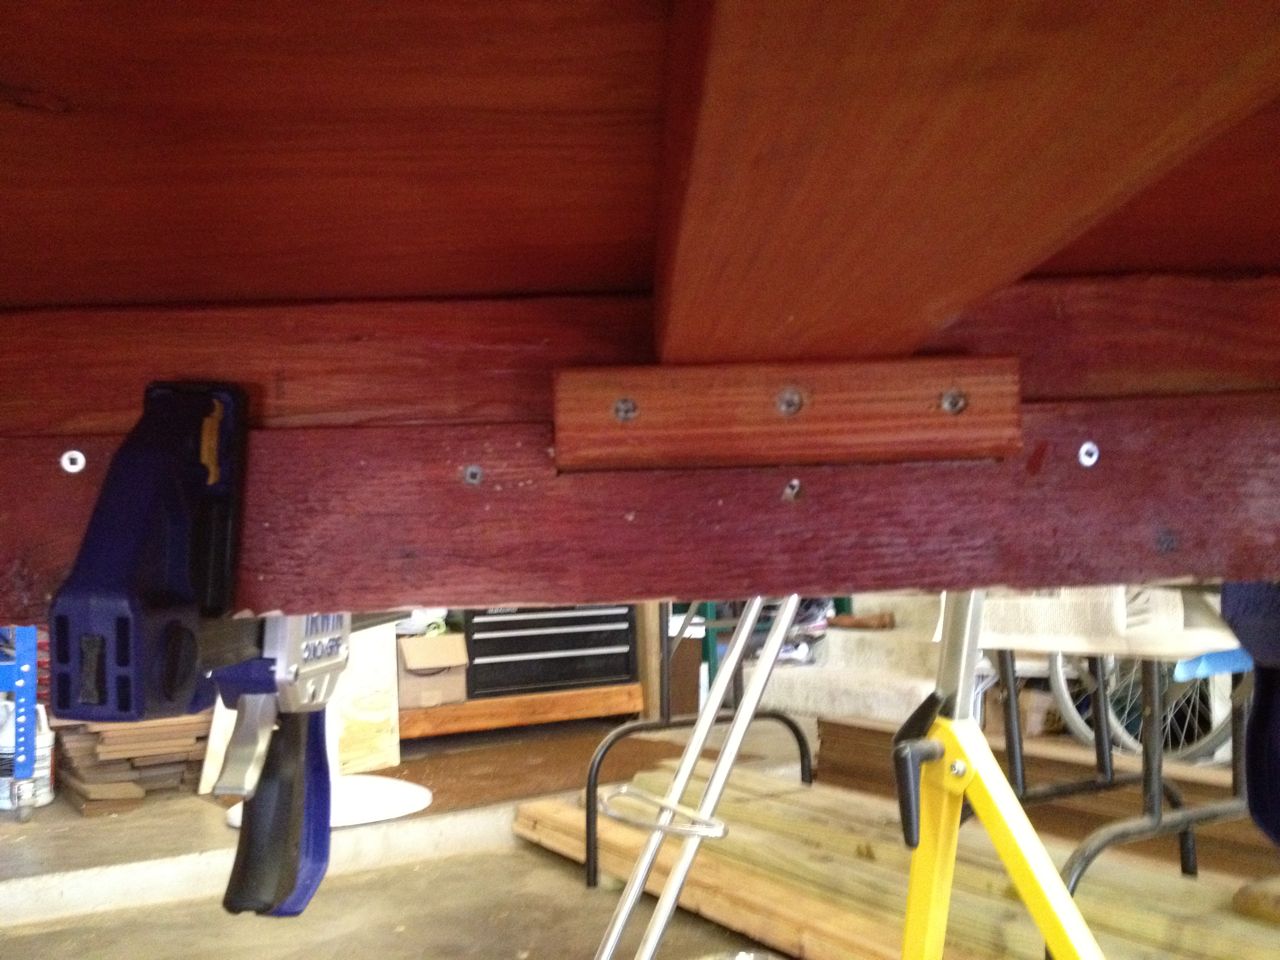
Underside of work table

Work table without Ipe surfaces
After the cedar skirting assembly, I started to get a real
understanding of an unforeseen implication of my design. This cabinet
was very heavy. It was already heavier than I could manage, and likely
heavier than my wife and I could manage. This was before we added the
very, very heavy Ipe wood to it. I'd likely have to get my very strong
friend to help me.
The final unforeseen problem I ran into was conflicting screw
locations. I had already pre-drilled the holes in the Ipe surface
boards (which you need to do because this wood is so dense) and had not
considered the places where they might conflict with existing screws
that were part of the frame and plywood encasing. I did run into a few
conflicts, but was able to redirect the screws at a slight angle to
avoid the collision. This was preferrable to having to drill another
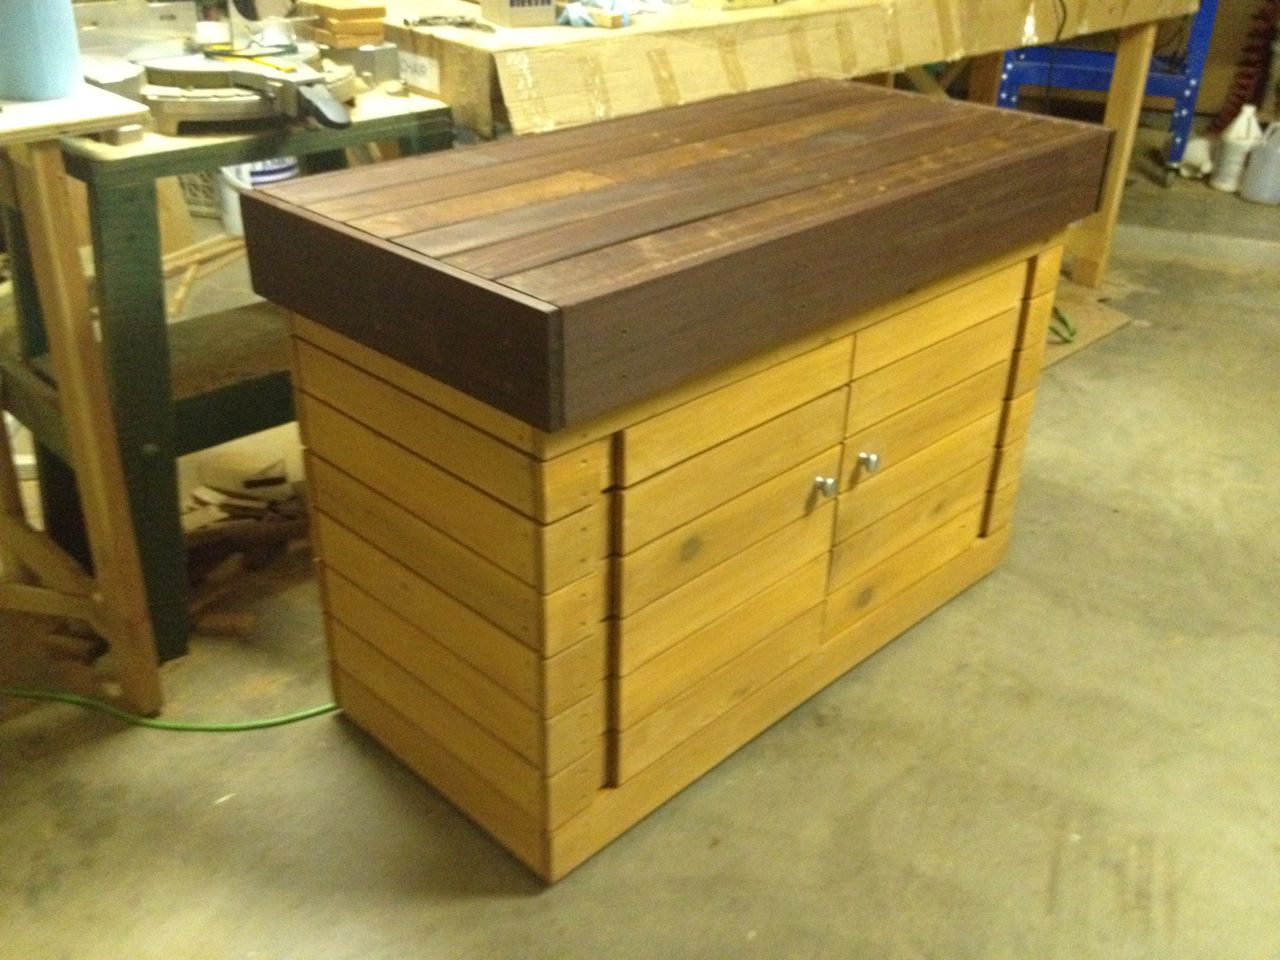
hole, or having to cut another board. Here's the final result:

The work table sat in my garage for a few days while I waited to ask my
friend to have time to help me. I was not in any rush, so did put it
out of my mind while I worked on the next project. Then, one day, as I
was sitting around, I got inspired. The very beginning of this whole
series of deck-related projects was when I had to get rid of the very
heavy broken spa that was on the old decks. You can read about that on
the New Decks Project
Page.
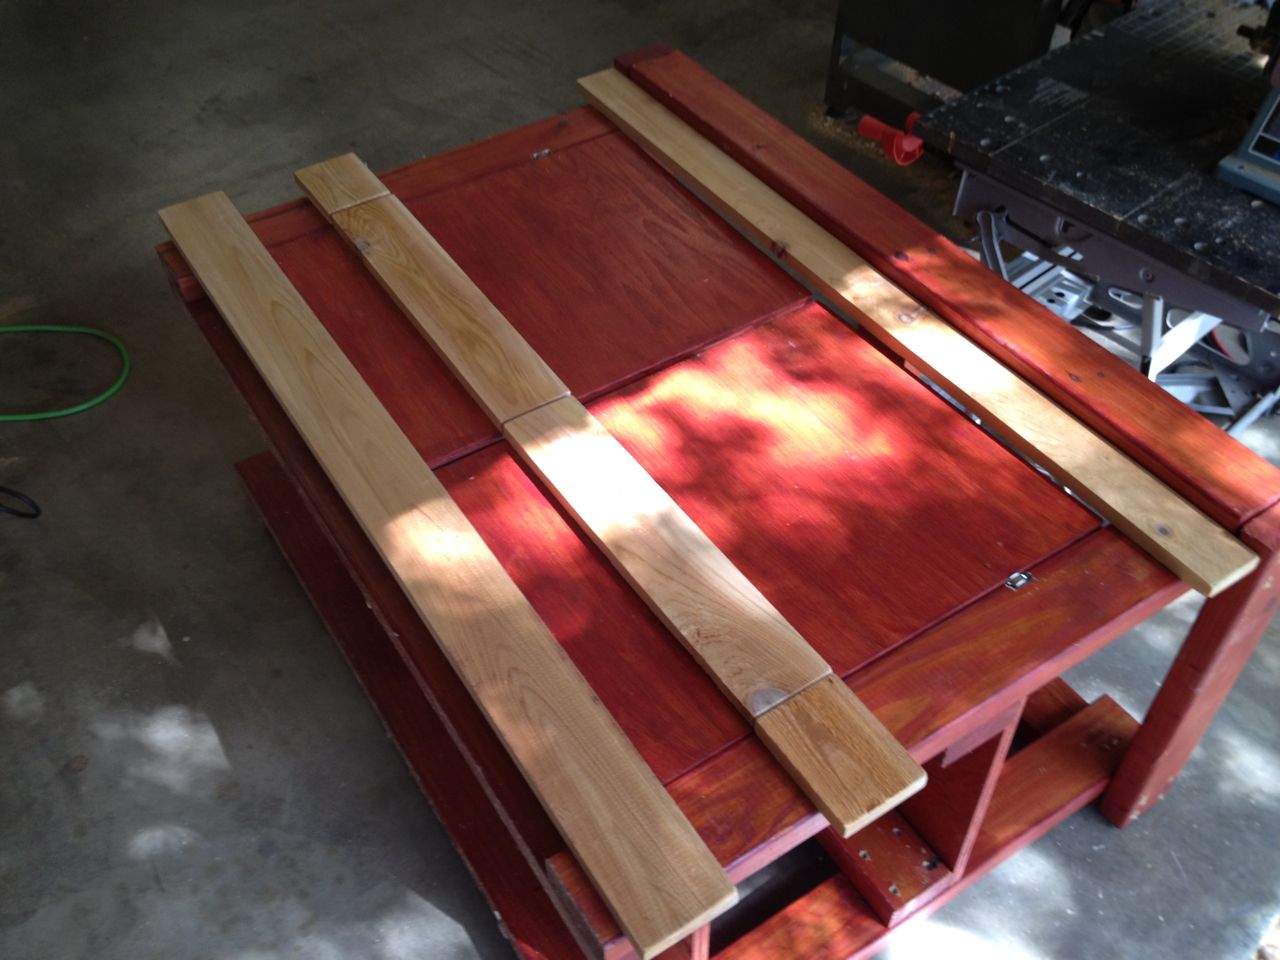
Work table installed on deck

Ramp and rollers for moving table
I had learned a few tricks watching that crew move the spa, and I
thought about how I might be able to move this work table all by myself
using those tricks. The challenge of doing it became too enticing, so
I decided to give it a try. I also got the romatic notion that the
project's beginning and ending should be tied together somehow. This
piece of deck furniture was the last major piece of the 3 month long
series of projects.
I had a couple 12 foot 2x6 boards lying around, and a couple 3 foot
long round dowels (which were in fact the exact ones the spa removal
crew used). I could just push this up an improvised ramp on these
rollers, and with the help of some furniture dollies to move it on flat
ground, it turned out to be relatively simple to get this thing in
place.
Clothes/Towel Rack
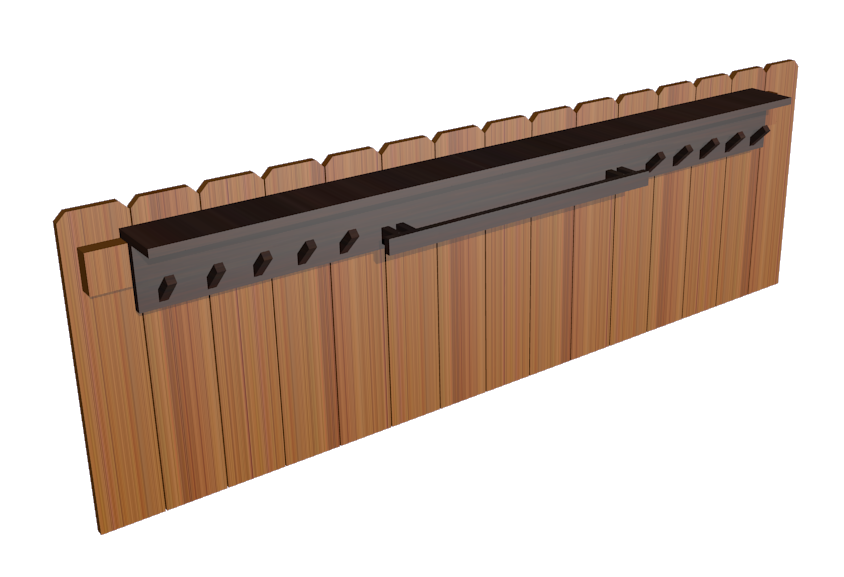
Model rendering of rack
One obvious flaw with the new decks and deck furniture was the lack of
having a place to hang wet clothes and towels. We have a pool and
outdoor shower, so the need to have a place to put things became very
clear when we first used the deck area for its intended purpose. The
first step was to figure out a good place to hang things, which my wife
came up with. The next step was to design something that would fit in
that area, be easy to make, would fit into the decor and would not
require anything but lumber I had lying around. I googled around
images of towel and coat racks for inspiration and came up with the
design at right. Simple, easy to make, and providing ample places for
things. I would make it out of the Ipe I had lying around to match the
furniture and decks. One of the inspirations I got was to also add a
ledge above the hooks to allow putting small items down (phones,
glasses, etc.)
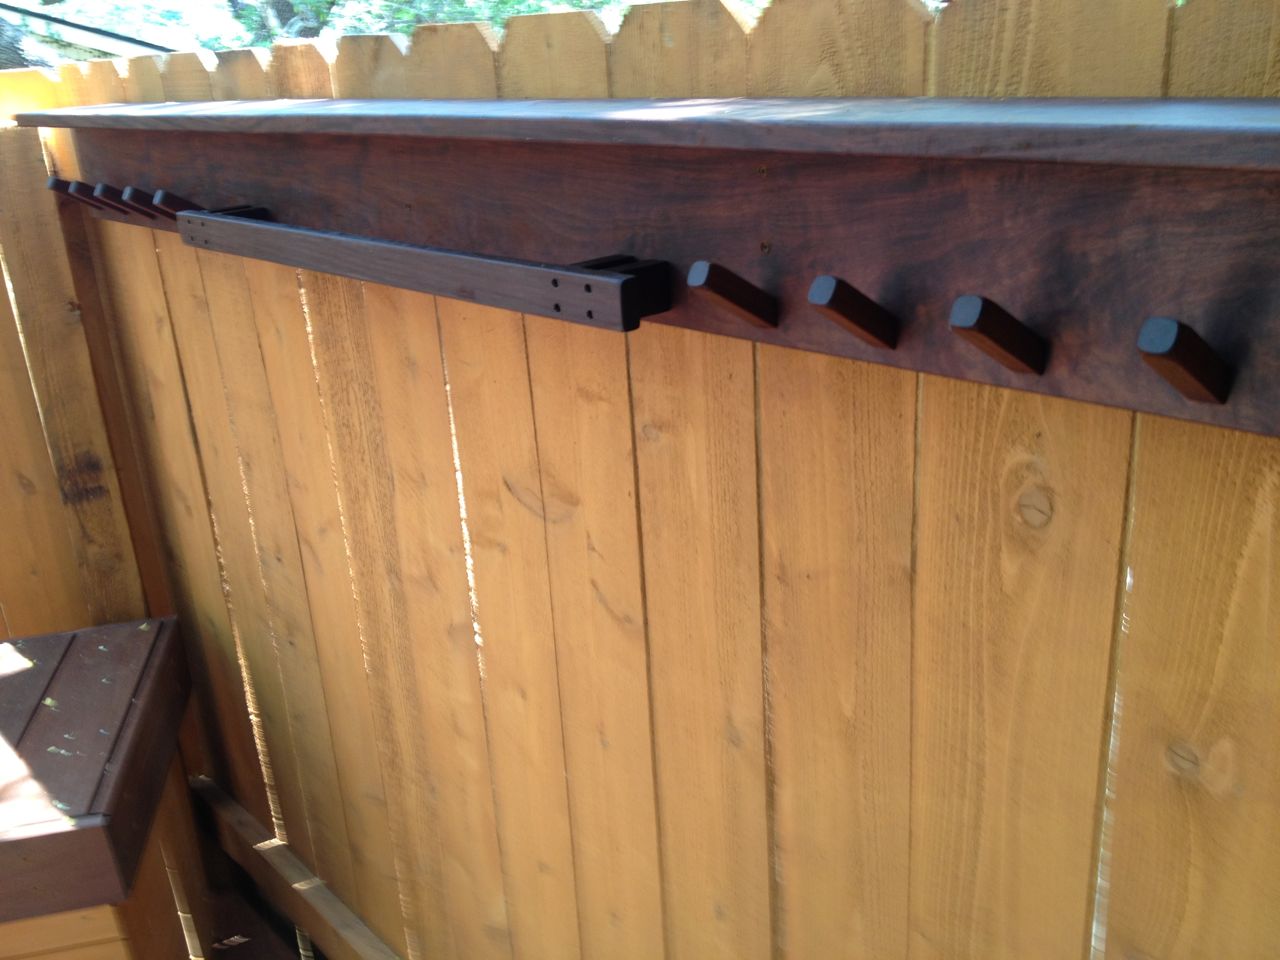
CLose-up of installed rack
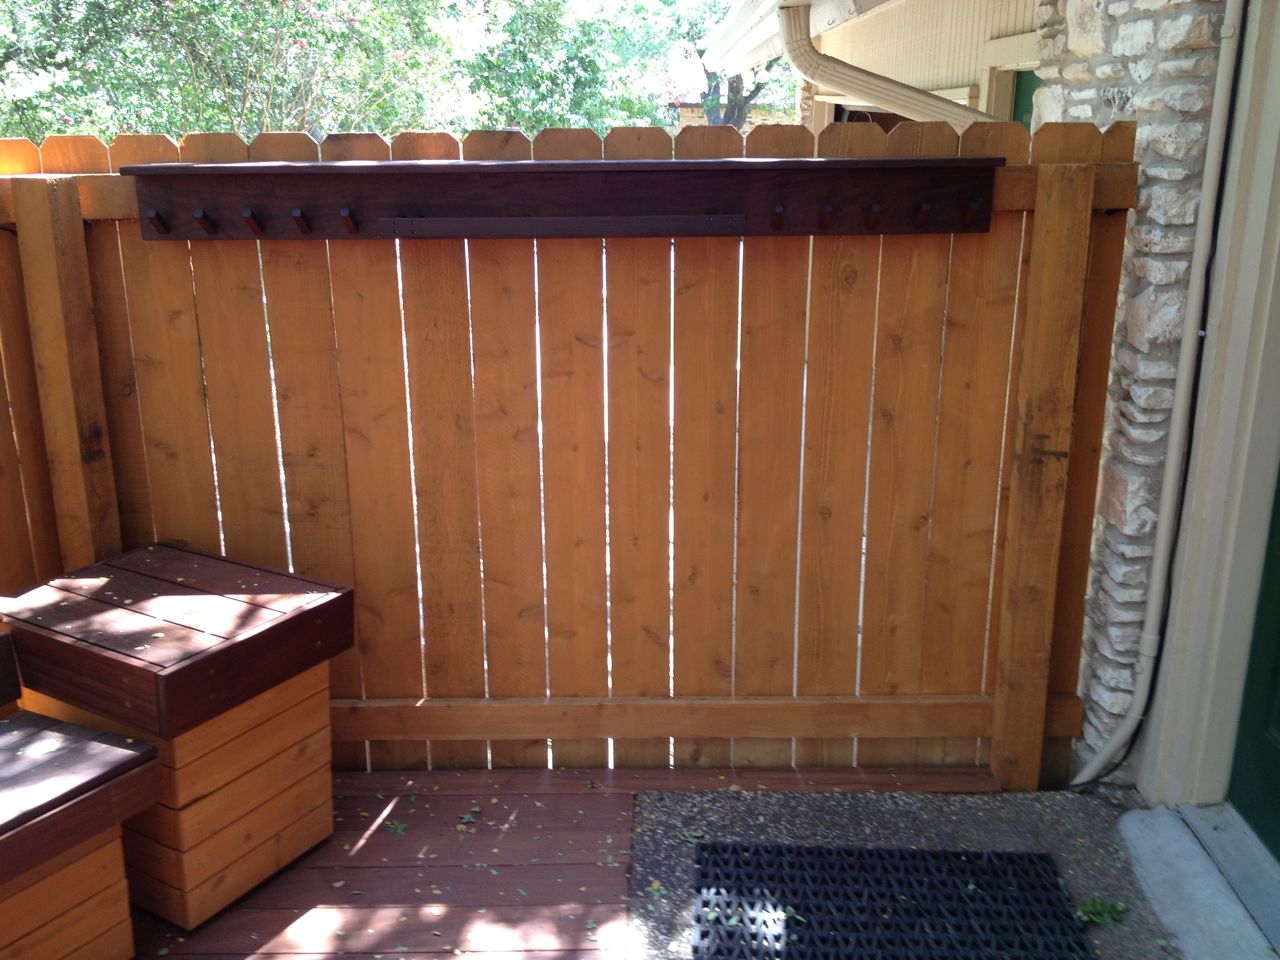
Rack installed on fence
From the time I was in my pool with my wife discussing the need for
some rack, until the time is was installed was less than 24 hours. I
had designed it later that afternoon, and was able to build it the
following morning. It wound up improving the deck not just by adding
needed functionality, but the fence it was put on was a bit of a blank,
empty-looking thing. The addition of this rack makes it look like the
fence has a purpose.
The LED strip lights run under the same 3x4 that this rack was
installed on. This was my first concern when my wife proposed this
location, but by using a 1x6 board on top of the 2x4, it actually
protects the light, while still allowing it to light up the ground in
that area. It does block the light a bit higher up, but in this area,
the need for light at a higher level is minimal.